Monday, January 19, 2015

How To Photograph Your Kids Indoors

Although taking photos of your children is often easier outside with natural light, there are a few ways to make it possible to do this well in your home without a flash. From cuddling on couches reading books to helping with the baking and crafting away, there's always precious moments to capture with your camera.
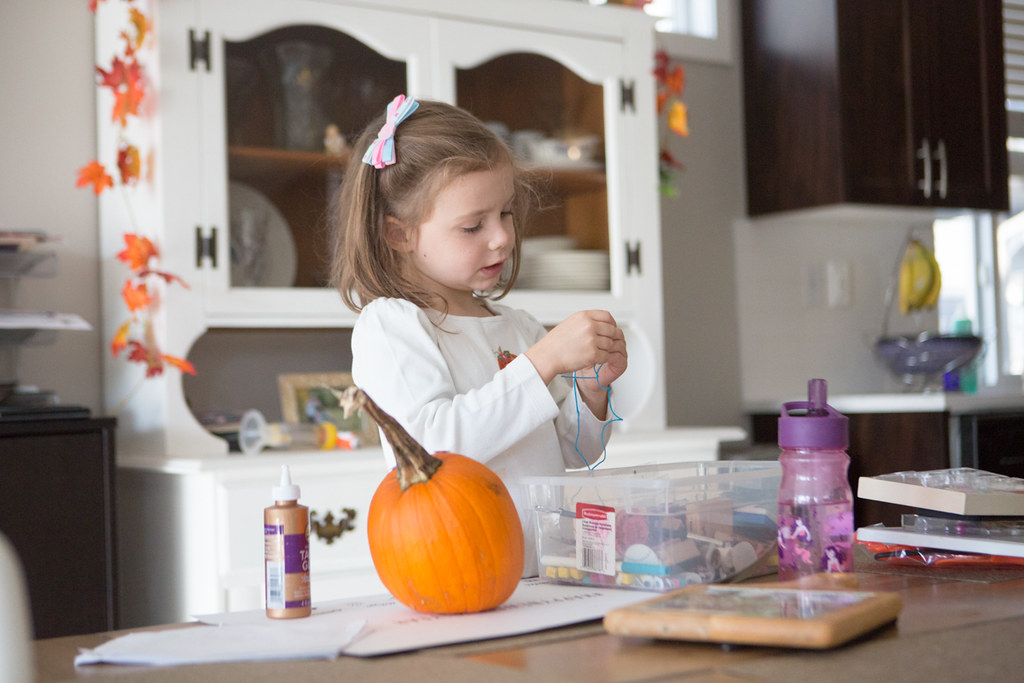

Three tips for photographing your kids indoors are:

1.  Take photos when they are sitting still.  

I know, it may seem impossible, but you know when you see them playing nicely and quietly with something? That's your chance! Don't force it, just catch it when it happens.  Also, the simpler the background, the better.  
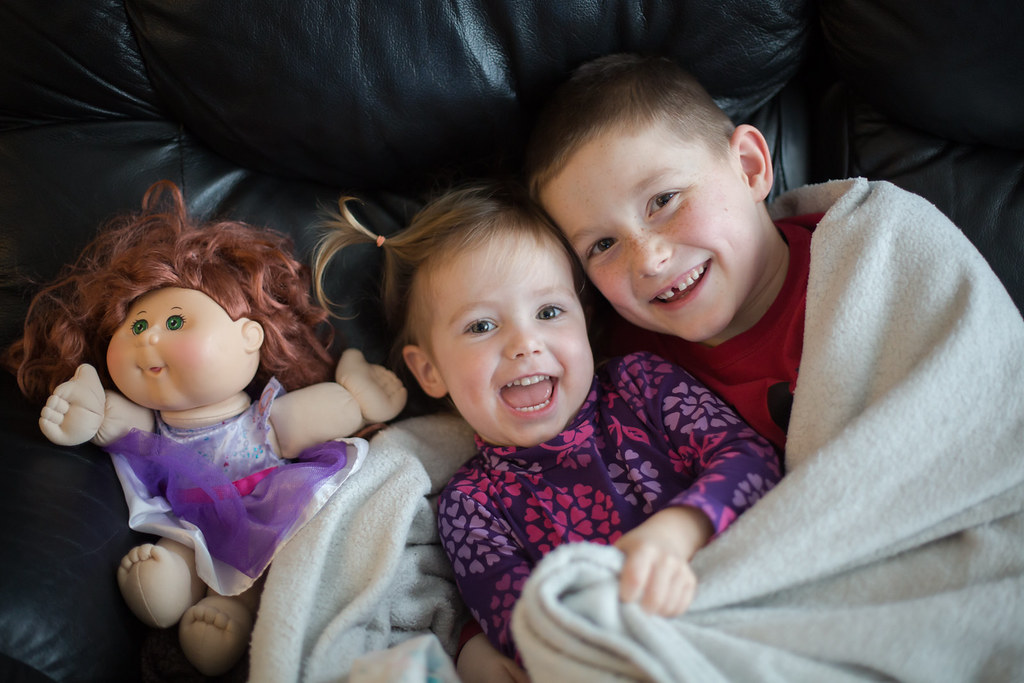
Siblings sitting on the couch

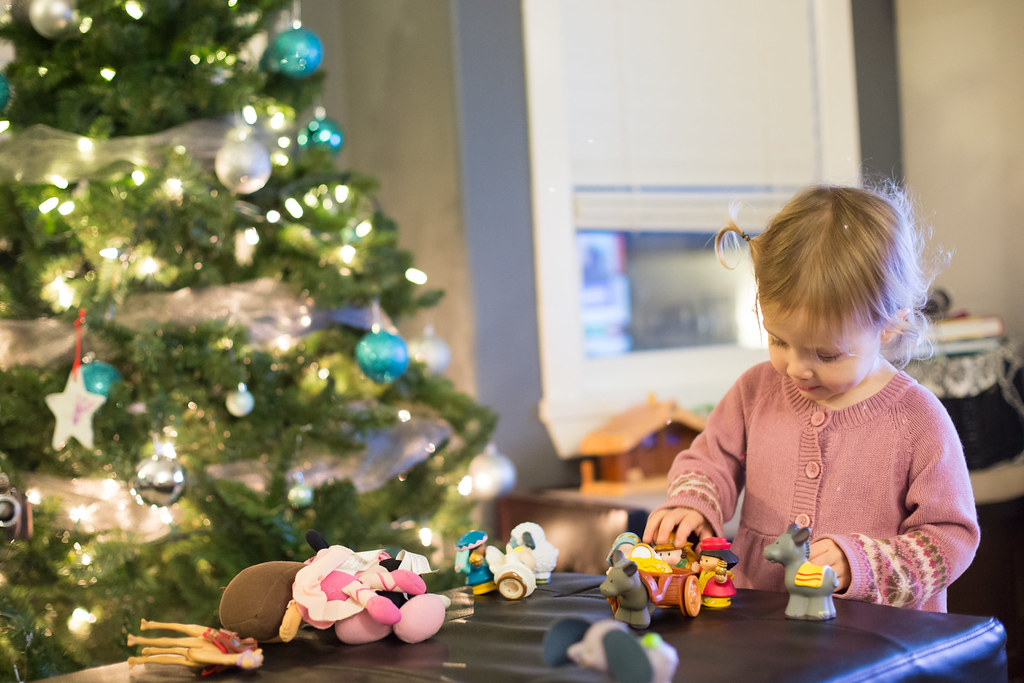
Girl playing with nativity scene in front of Christmas tree

Don't forget to capture those little details like their little toes...
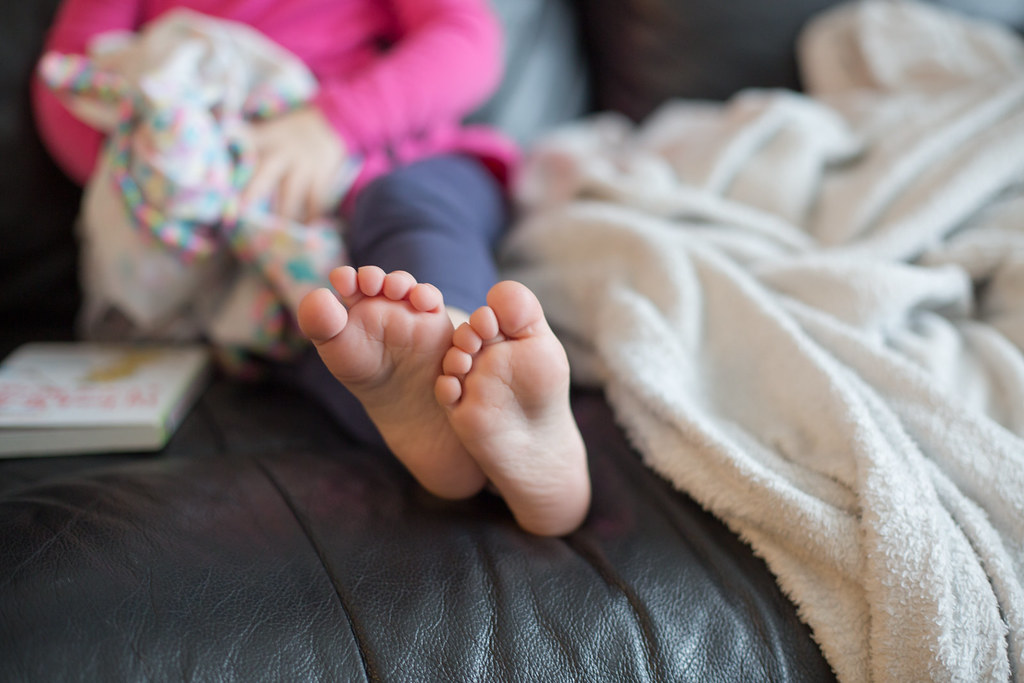
Little toes

...and their favourite blankie and how they like to hold it.
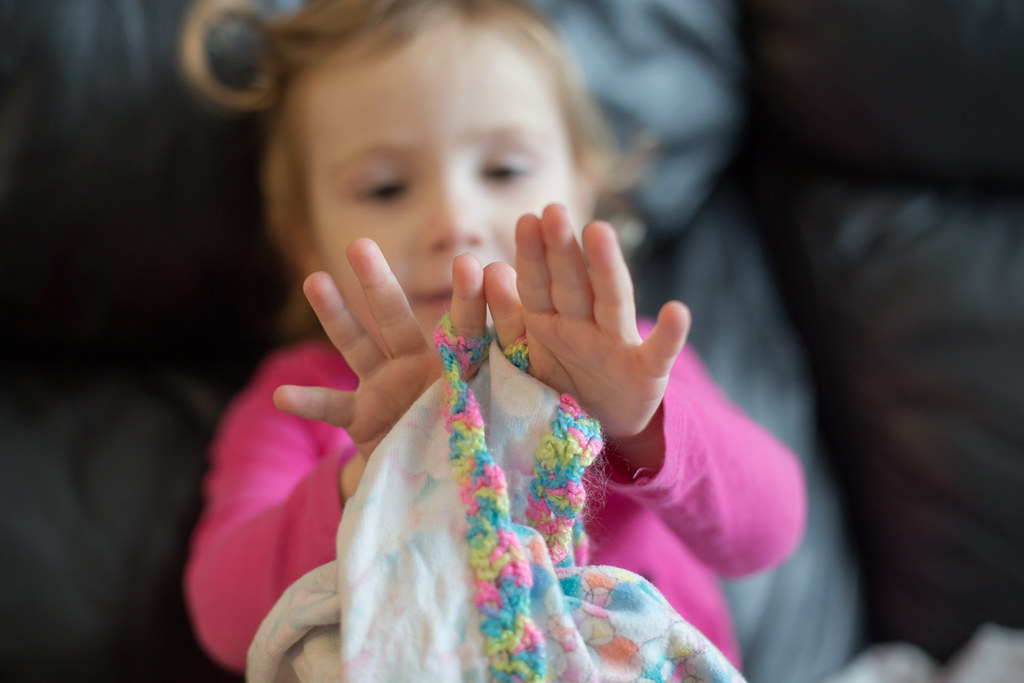
Toddler girl holding a special blanket

2. Recognize your light sources and have the kids facing them

This first picture shows the set up of our main room. We spend most of our time here as a family. You can see the giant south facing windows. These are the main source of light that I use. I like to put myself between the window and the child that I am photographing. In the following photos the kids are facing the light of various windows and doors in our home.
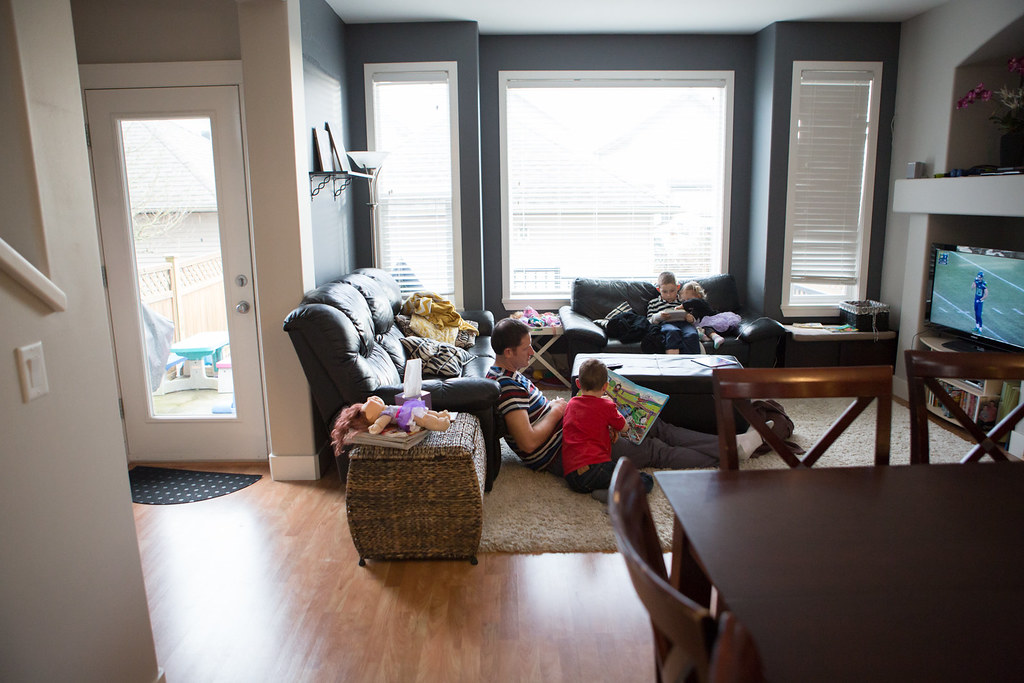
Father and son reading a book

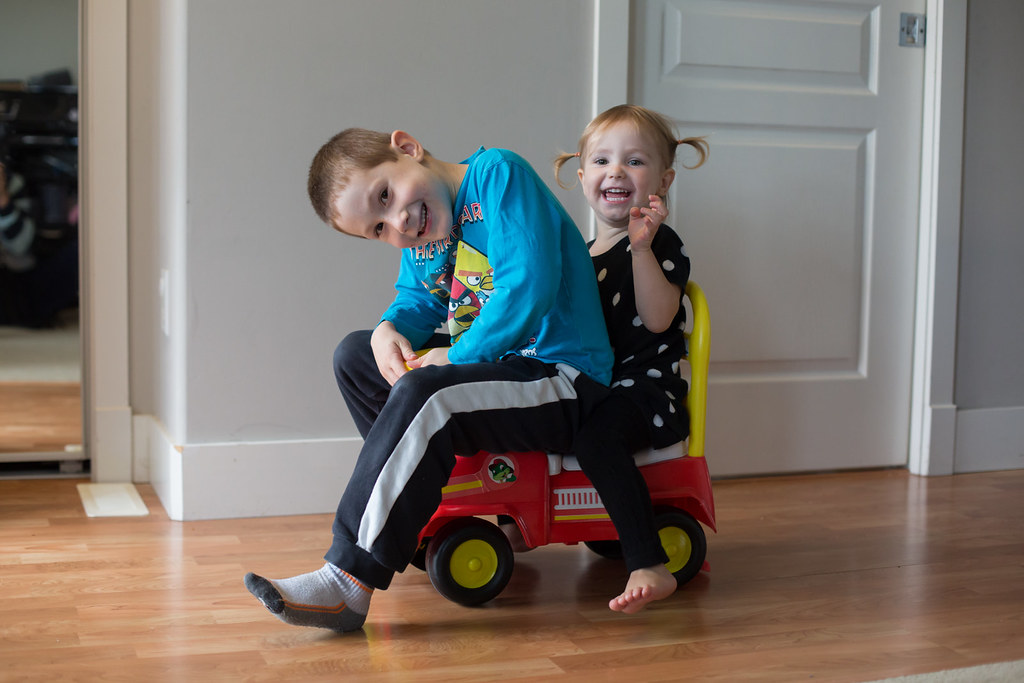
Siblings on a toy car

I put my kids in the stairs a lot.  It keeps them sitting still and they are facing the door with the giant window.
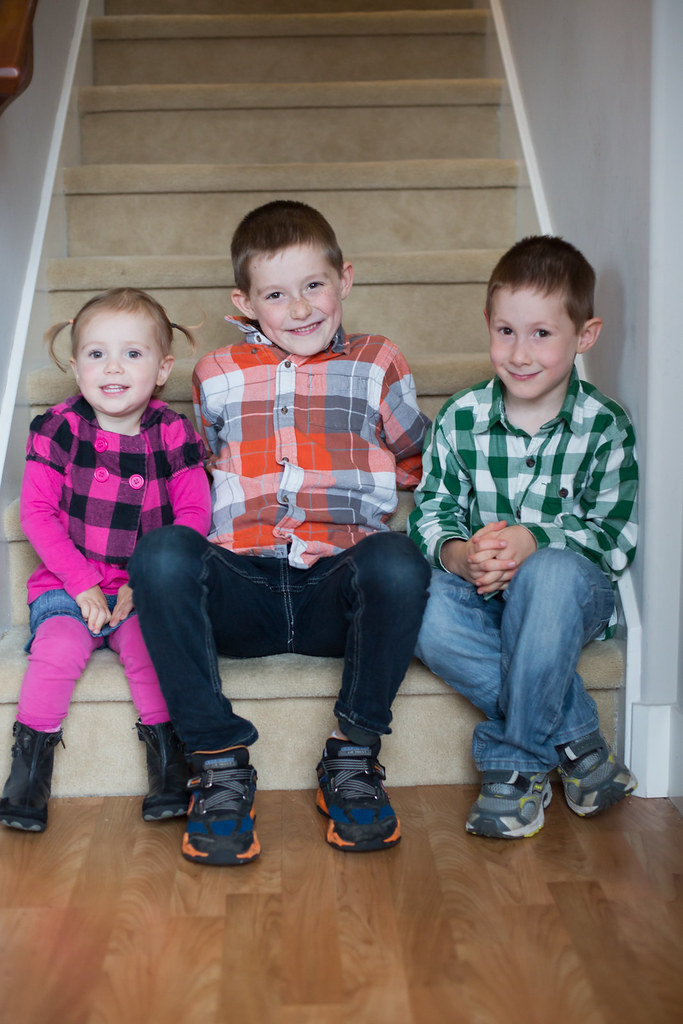
Siblings sitting on the stairs

I love when they play in front of the window.  This ended well, don't worry!
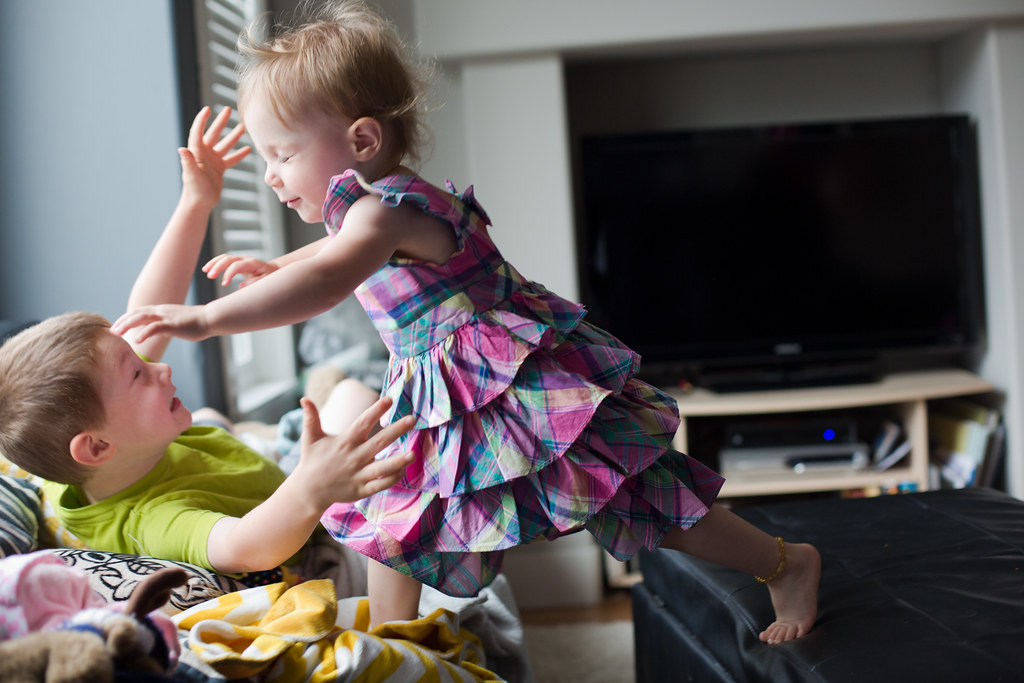
Kids jumping on the couch

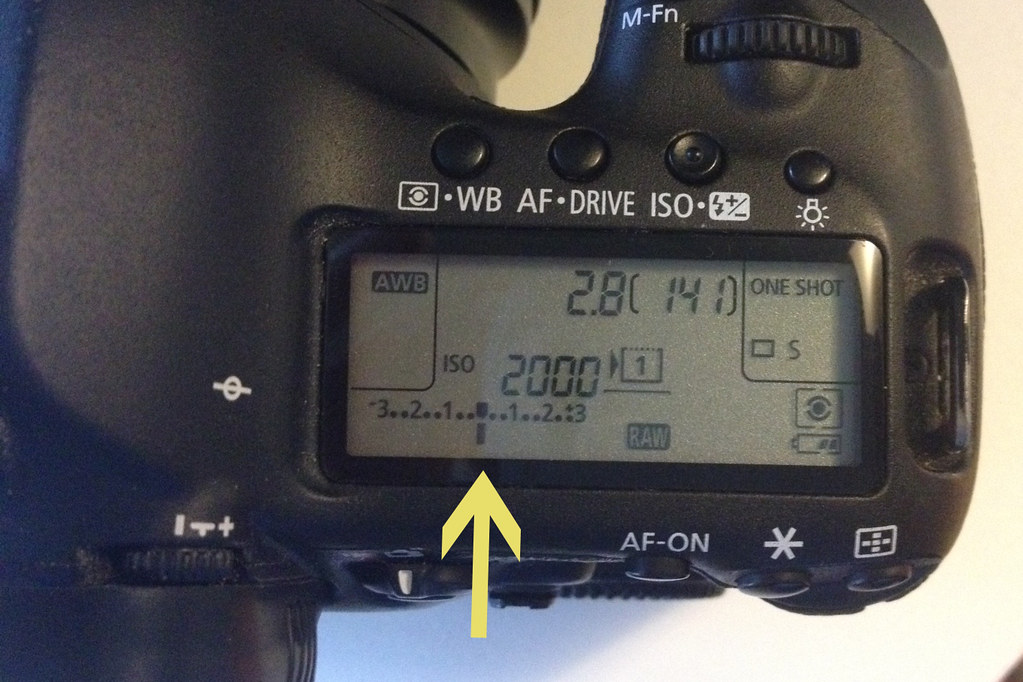
If the light is behind your subject like the picture below, they often appear very dark and underexposed. What you can do is manually overexpose it in the camera. You will see a meter when looking through the viewfinder, scroll up a stop (number) or so. You can't do this if shooting in automatic mode.

Children sitting in front of the Christmas tree

How to manually overexpose on your camera

You can move the marker up to the `1' or at least towards it.  If it is really bright, you can move it in the opposite direction to underexpose it a bit.

3. Use a prime lens with a large aperture (low f-stop). 

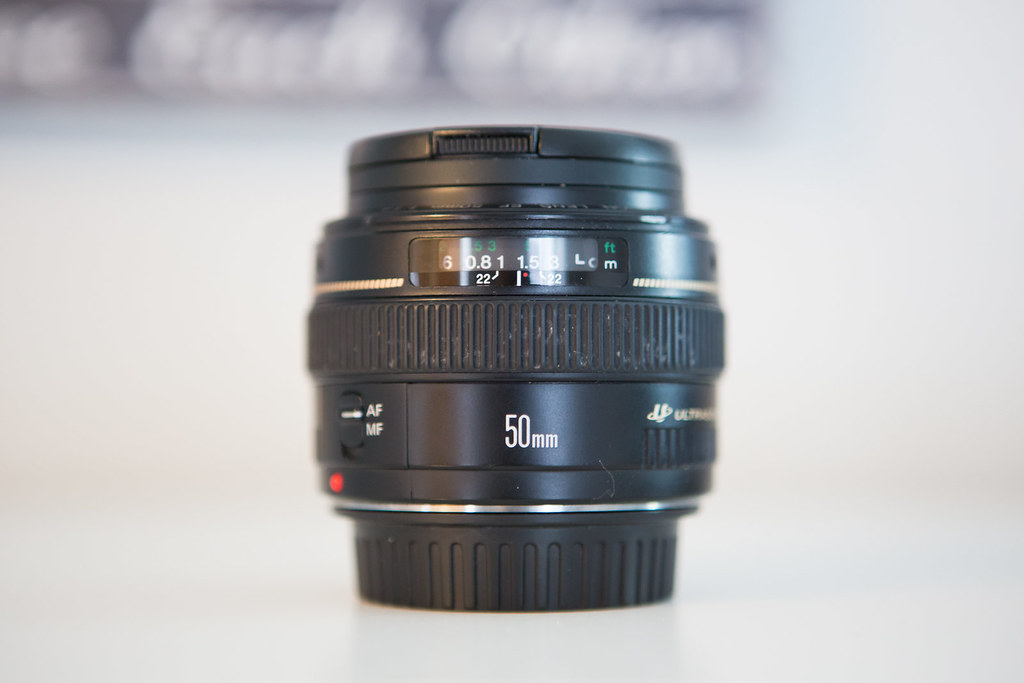
We have a 50mm f/1.4 that I use all the time with my kids. I have this lens on my camera and in my purse whenever we go out because it's small and great in low light situations. You can't always take photos of your kids during the day so this lens is great for the evening when your house is a little darker inside. The lower the f number, the more light a lens can let in.  Now this one is a bit pricey so I almost always recommend someone get the 50mm f/1.8 as I believe it's the best quality for the price as it's usually just over $100.00. One thing you do need to know about prime lenses is that you cannot zoom with them, you need to move your body in order to zoom in or out.

4. If you are shooting in really low light, it helps to put your camera on a tripod or solid surface. 

You might think you are holding your camera steady but you're not a tripod. If you do not have a surface to put it on, make sure you have a stable stance with legs slightly apart and wait until after you exhale. 

I hope these tips will help you feel a little more comfortable taking photos of those lively little ones in your life. Do you have any other tips that you want to add? How about bribing them with chocolate chips?  

As always, I'd love to see you on FacebookInstagram and Twitter.

Love,
Louise

Please pin here for later:
Sometimes photographing our kids indoors is tricky with lack of light and how quickly they  move. Here are some tips for you!


Friday, January 16, 2015

Peanut Butter Cookie Dough Bites

I know I'm a bit crazy with the recipe sharing lately but I like to share ones that I try and like. I decided to check out the `Power Snack' section of the Oh She Glows cookbook for an after school snack for the kids.  This was a hit.  There is maple syrup in it which is something I try not to have too much of but I definitely had to try one (or two!) of these.


The recipe calls for oat flour and I've never made it before but it was so easy!  Took just one minute.


PEANUT BUTTER COOKIE DOUGH BITES
Ingredients:
1 1/2 cups of gluten free oats (I use regular oats)
2 TBSP coconut oil
2 TBSP natural peanut butter
1/4 cup of maple syrup
1 tsp vanilla extract
1/2 cup almond flour (I didn't use this, I just made a little extra oat flour)
1/4 tsp sea salt
2 TBSP dark chocolate

1. In a blender, blend oats until it turns into a fine flour.
2.  In a large bowl combine coconut oil, peanut butter, maples syrup, and vanilla.  Beat until smooth.
3.  Add the oat flour (I just added more oat flour instead of making almond floor too) and salt and beat again.
4. Fold in chocolate (I just did regular chocolate chips for the kiddos)
5.  Roll into balls and put on a plate lined with parchment paper.
6.  Freeze for 5 minutes.  
7. Store in a freezer bag in the freezer and you have a snack always ready to go!


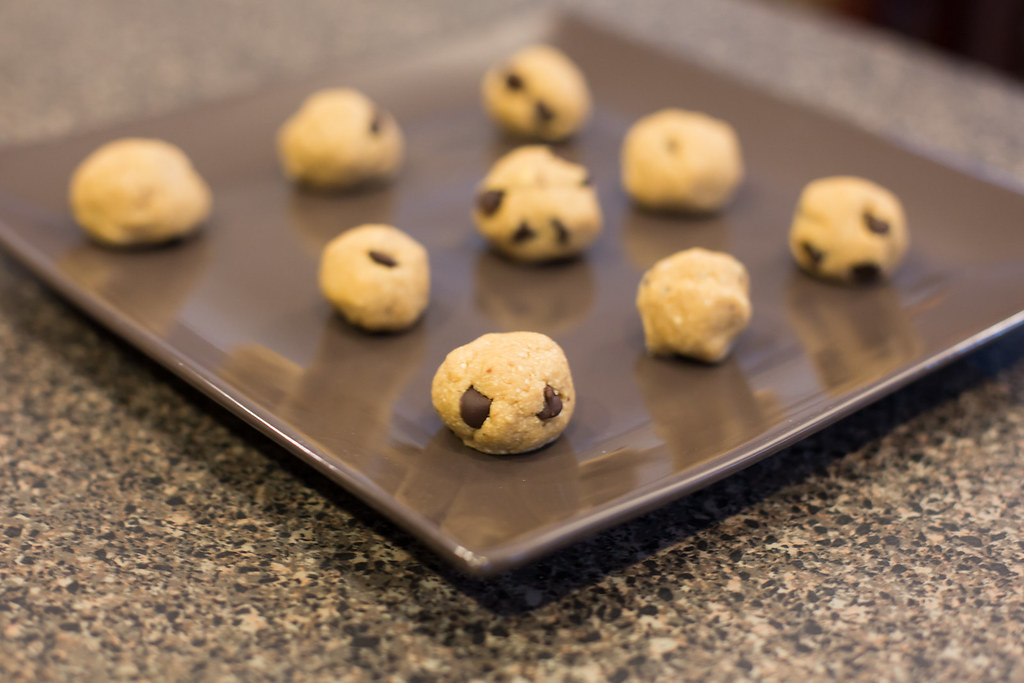
The kids liked them and so did I!  It only made 12 of them so at least if you go crazy over them, you won't end up eating too much ;)

Have a great weekend everyone!

Love,
Louise

Thursday, January 15, 2015

Thankful Thursday


This week I am thankful for:
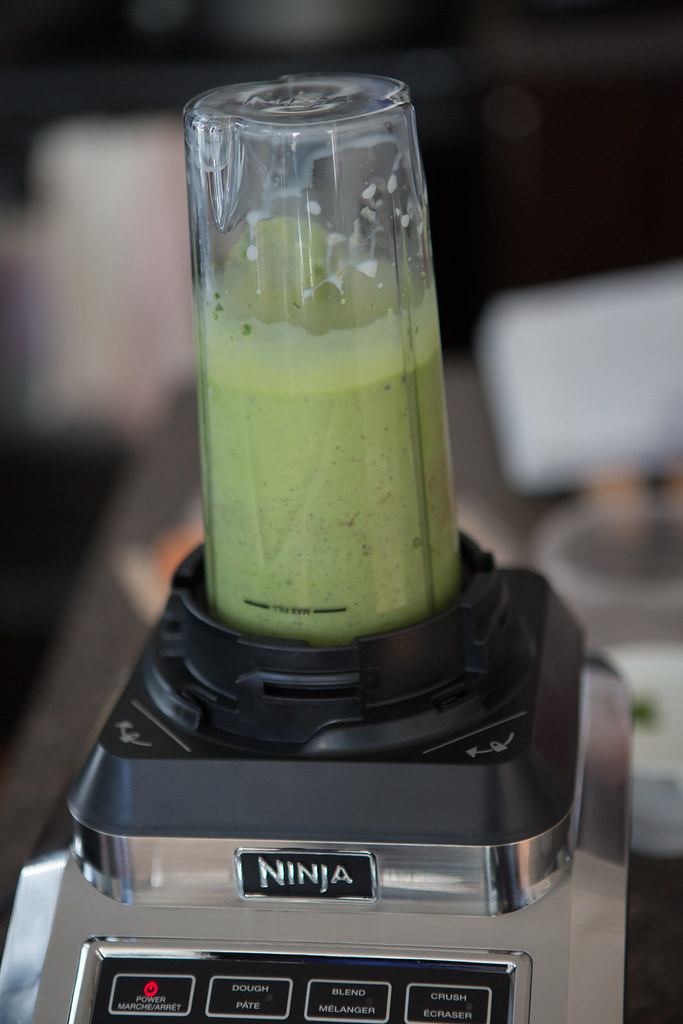
1.   Community on facebook.  Seriously.  If I have a question about anything, I can get the opinions of those I trust!  This week?  I was curious about the Ninja Ultra Kitchen System.

PS I got one.  I love the single serve option.  I don't have to clean a large blender and a cup. 


2. My FitBit encouraging me.  It's funny but when it vibrates (when I reach a goal) or calls me a champ or sends me a badge, I love it.  Now if it could only do that when I do other awesome things like make a good meal.


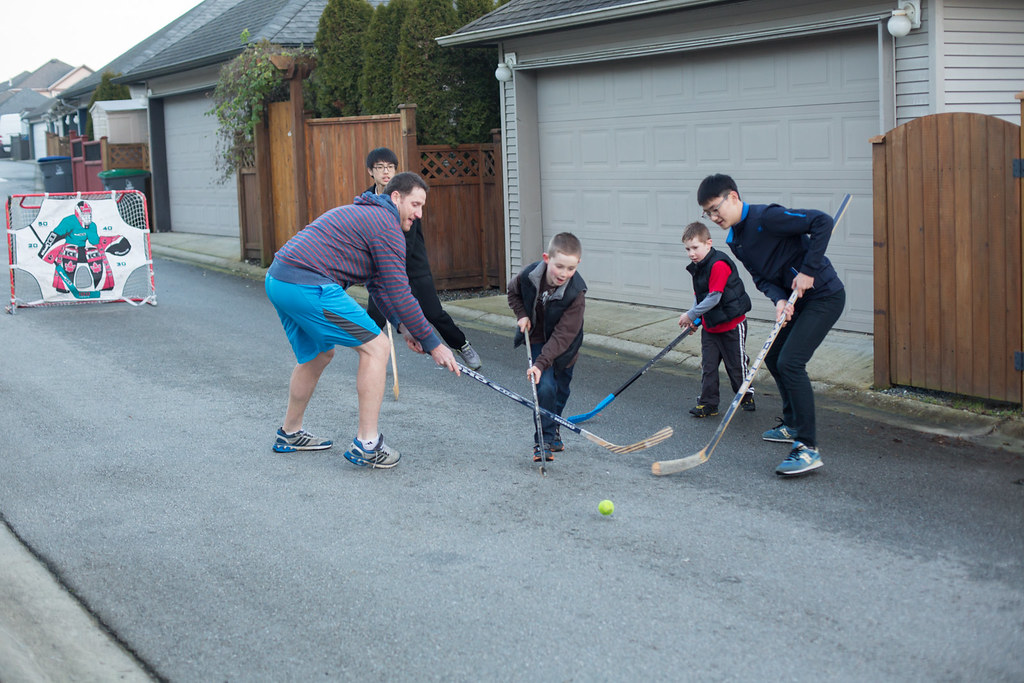
3.  Our two Korean students.  I was nervous having two 16 year old boys join us for 3 weeks but I think they are great.  It's a little extra work (laundry, driving, grocery shopping) but the boys love it. Nya calls them Jae and Gumball (Young Jae and Yeung Beom).  They have given themselves new English names; Mike and Jack.


4. Great kids to do daycare for.  I do daycare twice a week.  Once for my nieces and once for two other girls.  These are my nieces and when they come over, it's great.  Nya has so much fun! I could definitely never do daycare full time. Ever.


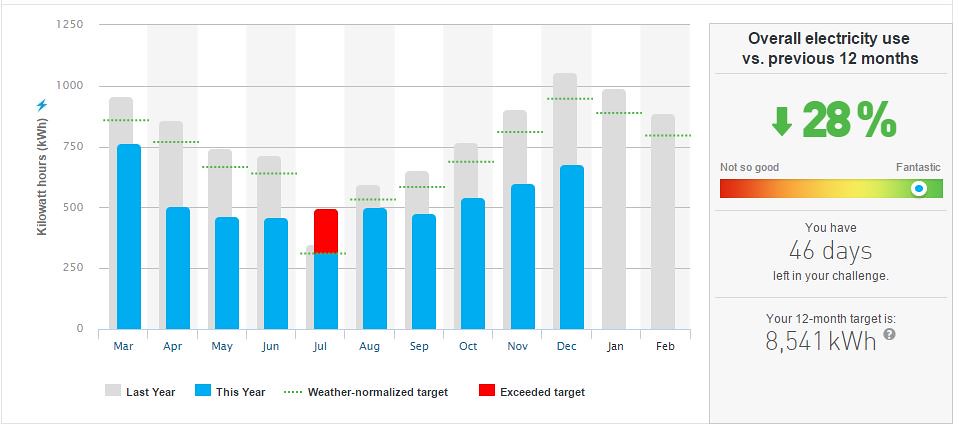
5.  Saving $.  We started the Power Smart challenge almost a year ago.  They challenge you to save 10% over one year and they will give you $75.00.  Not only did we save on our bill but we will probably win the extra $75 too.

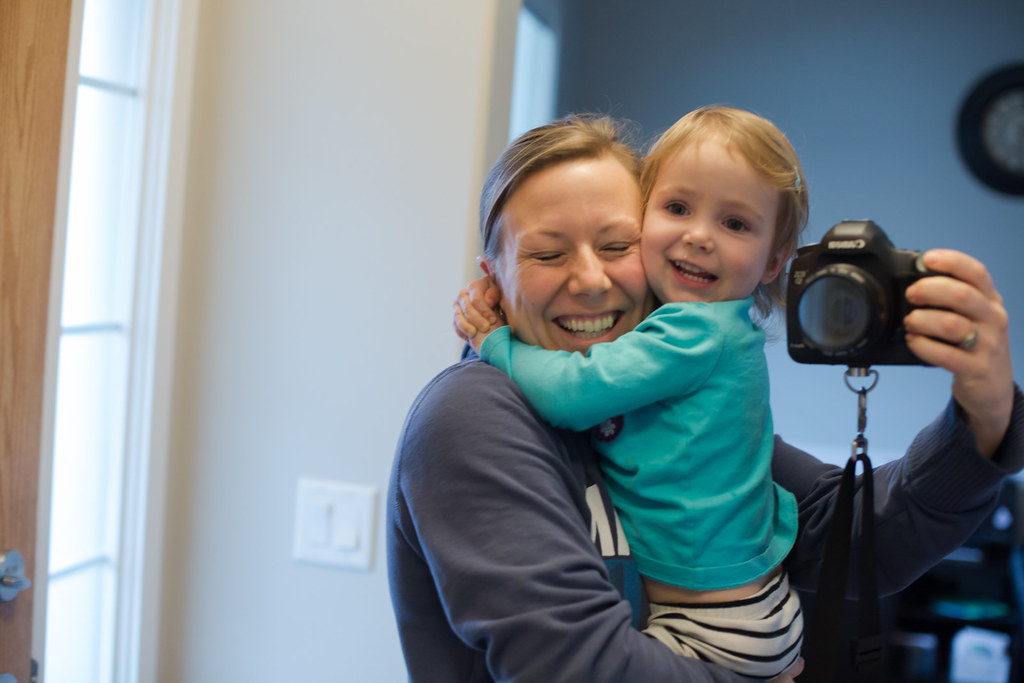
6.  Nya's squishy hugs.  She will often say, `Mommy, I need a hug!' `Mommy, I need a cuddle!'.  She loves to be held. 


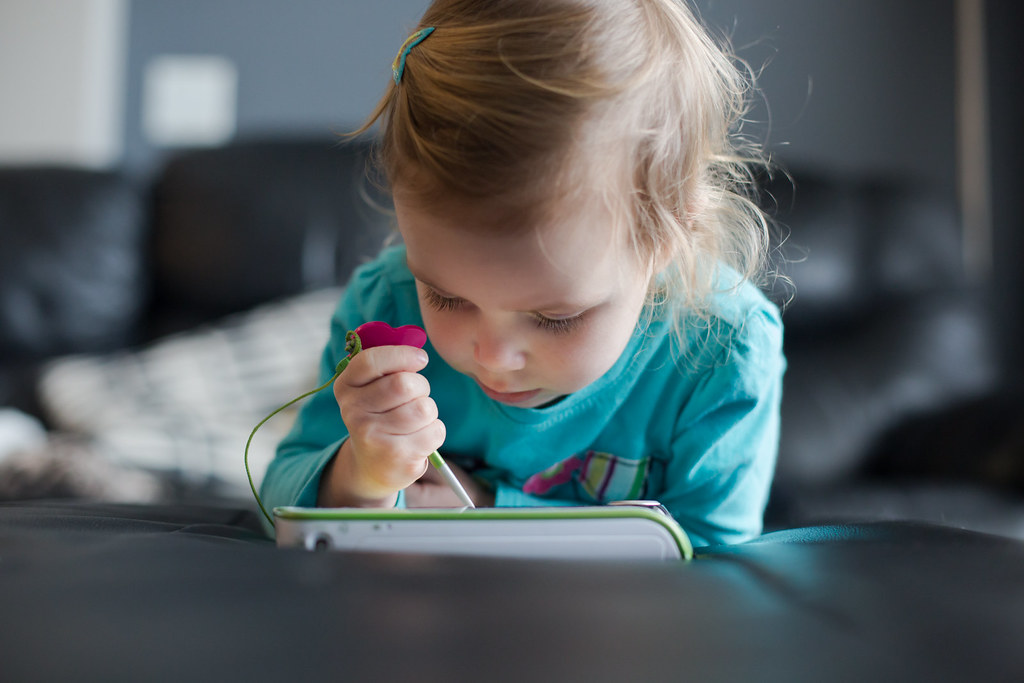
7.  Koen's LeapPad.  We try to limit it's usage to one hour a day but I love that it's educational.  Nya loves it too.  Had I known about it earlier, I would have gotten one for Kai when he was younger.


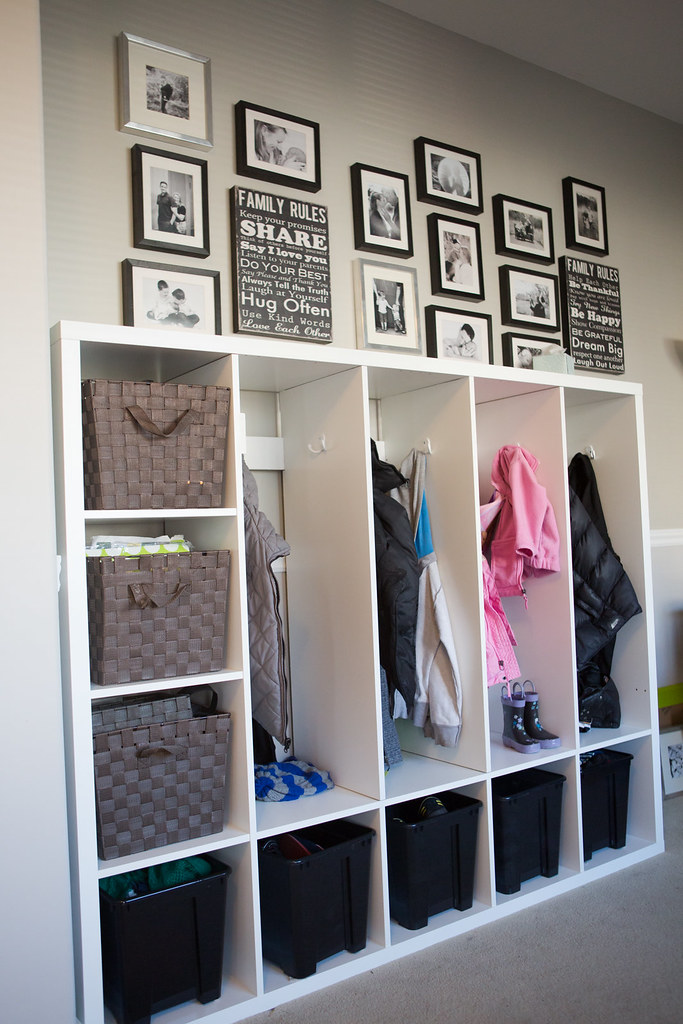
8.  Organization.  I know I've been thankful for these lockers before but I really love them. Functional, cute, and affordable!!  Now I'm Pinteresting away trying to figure out how to make a long white desk 10 feet long with some storage for the other wall.  We need a work station for Gary and I as right now it's a bit cluttered.  If you have any ideas, send them my way! I'm thinking Ikea again...


9.  Nya's health.  It is so good to see `her' again.  Happy, silly, energetic.  Every day it reminds me of the parents and children that have to go through long term illnesses like cancer.  It puts it in perspective how minor her illness was and I just can't imagine seeing your child so down for so long.


10.  A hard working husband.  He works full time as a teacher and is currently in basketball season coaching senior boys.  He has basketball about 5 nights/days a week.  Saturdays and Sundays too.  There isn't a whole lot recognition and appreciation for a coach, especially when their team is not doing well.  I'm proud of him for continuing to give so much to it, I know it can't be easy. I totally look forward to the day when he can coach our kids.  I hope they want to play!


I hope you are having a good week.  I'm starting to feel a bit tired having 5 kids in our home but it does force me to meal plan for the week which has been so awesome and helpful.

As always, please share something that you are thankful for today!

Love, 
Louise

Tuesday, January 13, 2015

Post Workout Smoothie Time

I have been off of most sugar for the past six months and I feel AMAZING.   The biggest three changes are weight loss, an easier time sleeping, and more energy.   Up until now, I have left fruit out of my smoothies because liquid sugar is not the best for you and there is a lot of sugar in fruit like ripe bananas.  Being that I am now at my goal weight, and exercising more, I wanted to be able to have a treat each time I finished a good workout.  

If you follow me on Instagram, it's no secret that I love just a few recipes from The Oh She Glows Cookbook.  I'm not a vegan but the recipes are quite healthy and I can adapt them if need be.  If you are thinking `Oh man, vegan sounds scary!', it's not.  It's fun to mix things up and try new things.  If a recipe looks too far out of your comfort zone, you can always adapt it with ingredients that you are used to.


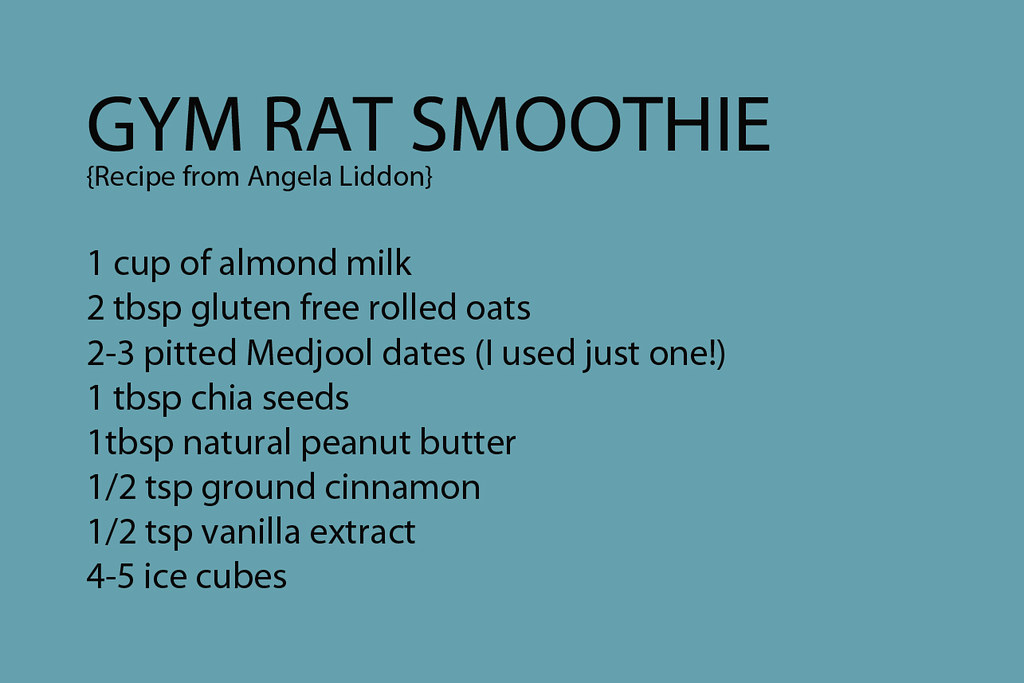
I've tried four of her smoothies so far; Classic Green Monster, Gym Rat Smoothie, Pumpkin Pie Smoothie, and the Cheerful Chocolate Smoothie.  I like them all.  I find the last three very sweet so I just reduced the number of dates added.  Remember, I've been off of sugar so you'll probably want the recommended number of dates.

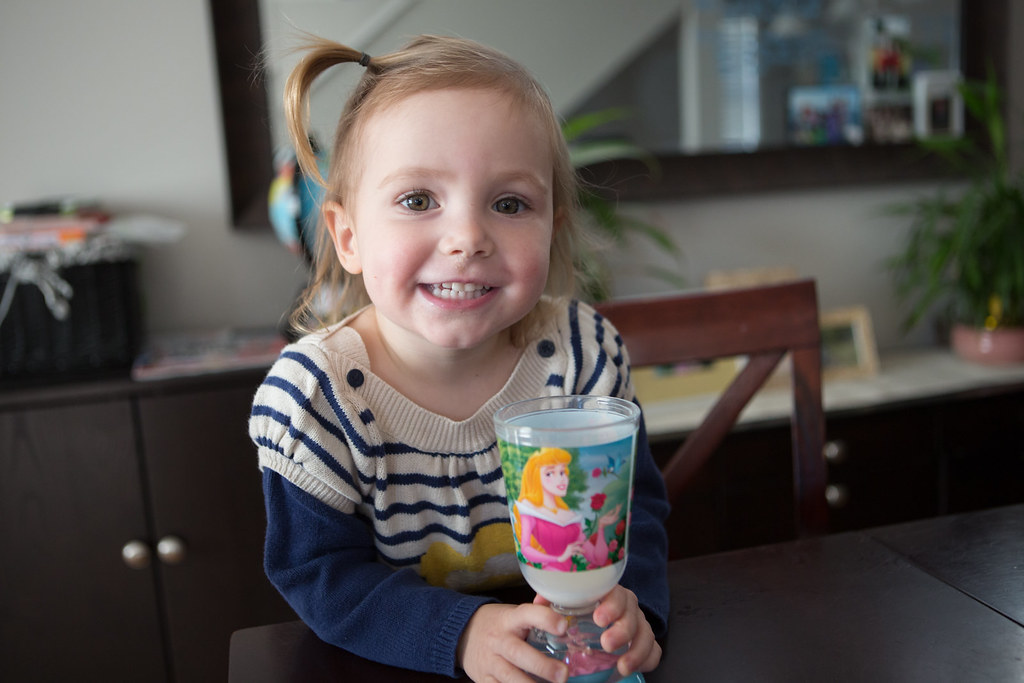
Here's the one I tried the other night in case you wanted to try it.   Just put all the ingredients in the blender and you are good to go.


Doesn't it look good?

I'm trying something new here so hope you are not offended.  I always link to products that I like so if you have ever thought of buying this cookbook, you can do so through this link and I would get a very small percentage.


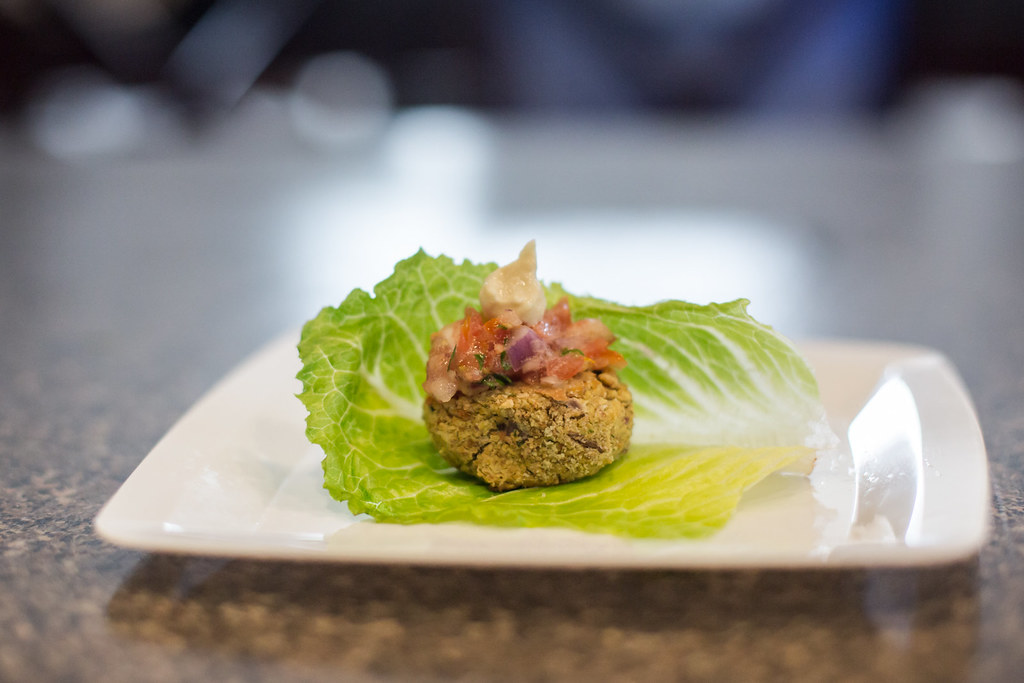
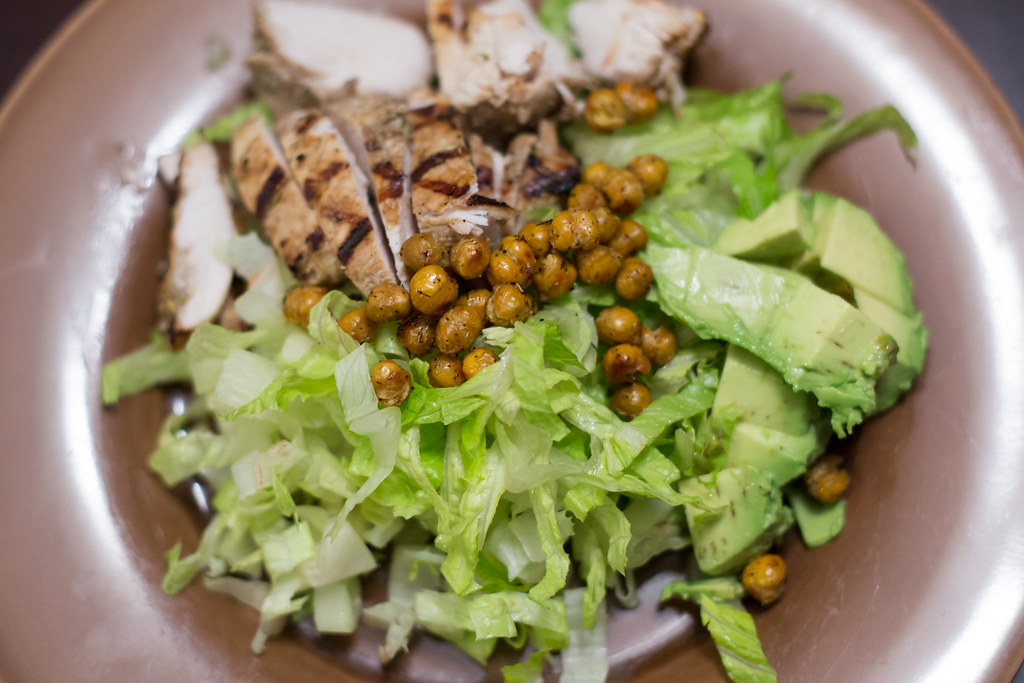
These are some other recipes I've made out of it so far in case you need some more convincing of this book's awesomeness.  I don't have a picture of the Chana Masala but that was a keeper too!

{Ingredients to make the Falafel Bites}


{Falafel Bites}


{Soul Soothing African Peanut Stew}


{Classic Green Monster}


{Roasted Chickpeas-not on a vegan salad}

If you have ever thought of reducing the sugar in your diet, I would really encourage you to.  The first three weeks are not fun but after that....oh, it feels good.  And if you are sick of the same old recipes, there's a whole bunch in this book that will mix things up for you.  To those of you that have this book, or have checked out the Oh She Glows website, which ones would you recommend we try next?

Love,
Louise

PS Did you know that a ripe the banana has more sugar is in it?  Just choose one that's not the ripest next time you put it in your smoothie :)

Monday, January 12, 2015

Rule of Thirds: Photography Tip

Welcome back to the Photography Tip Series!  The first one called Framing Your Subject talks about looking for natural frames while taking photos and this one is about where to position your subject for a more interesting persepctive.

Simple way to take your photo one step up by following the rule of thirds!

Here is another photography tip in the series which many people probably know about, but just in case you don't or would like a refresher let's talk about The Rule of Thirds.

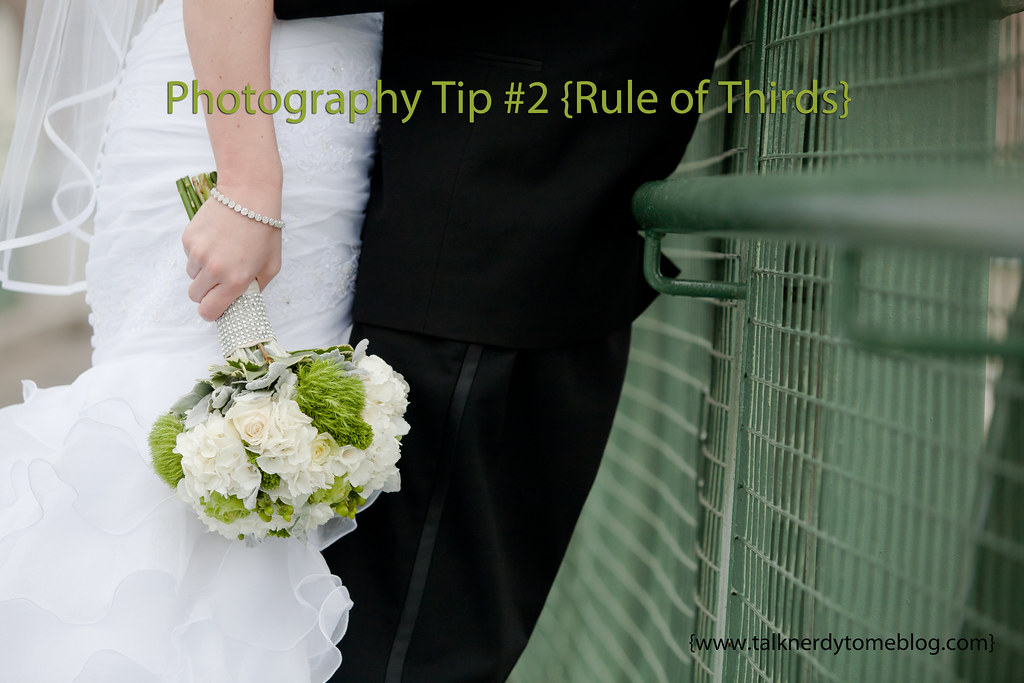
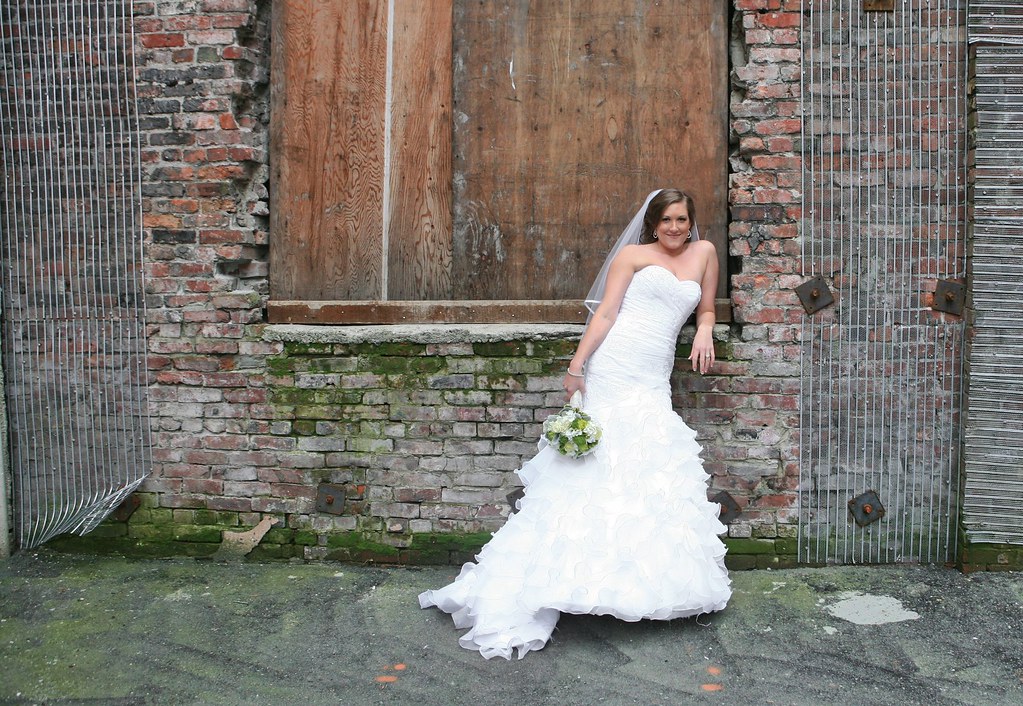
The Rule of Thirds is meant to be broken but it is also something to keep in mind when setting up your shot. Do you see where the bouquet is in the photo above?  It's in the left 3rd of the photo, and 2/3 of the way down. 

Photos can be split into thirds horizontally and vertically.

Simple way to take your photo one step up by following the rule of thirds!

Your eye appreciates seeing subjects at these intersections.  Yes, some photos look great centered but it's good to mix it up a little. The subject doesn't need to be at the point where the lines meet, it could just be on one of the lines.

Simple way to take your photo one step up by following the rule of thirds!

Simple way to take your photo one step up by following the rule of thirds!

Simple way to take your photo one step up by following the rule of thirds!

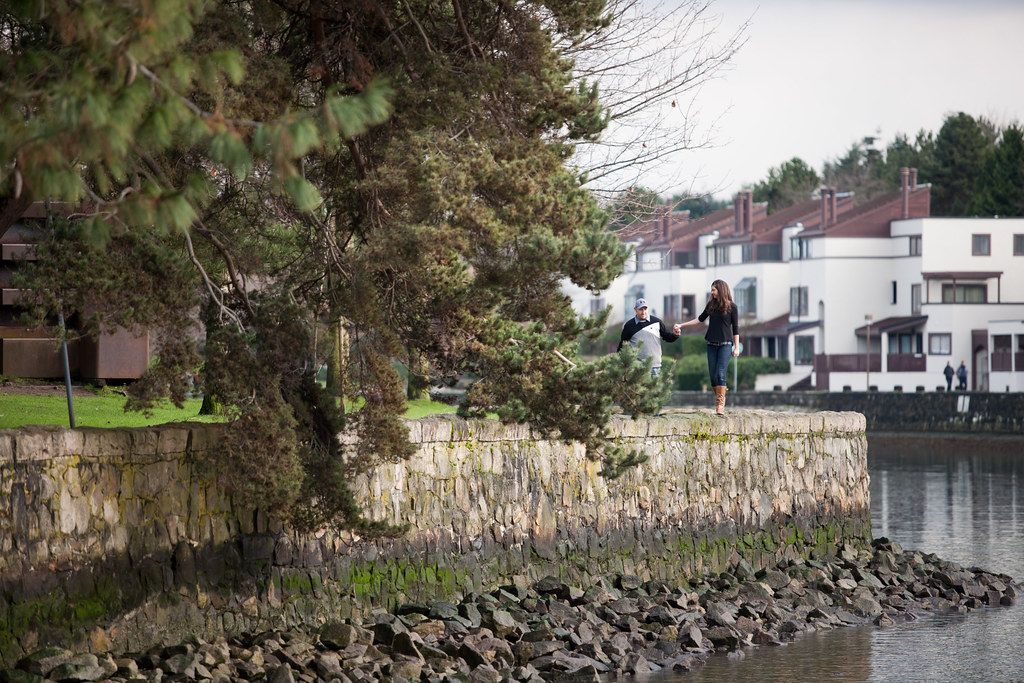
Do you see the horizon is not directly in the middle of the photo?  It lies closer to the bottom third.

Simple way to take your photo one step up by following the rule of thirds!

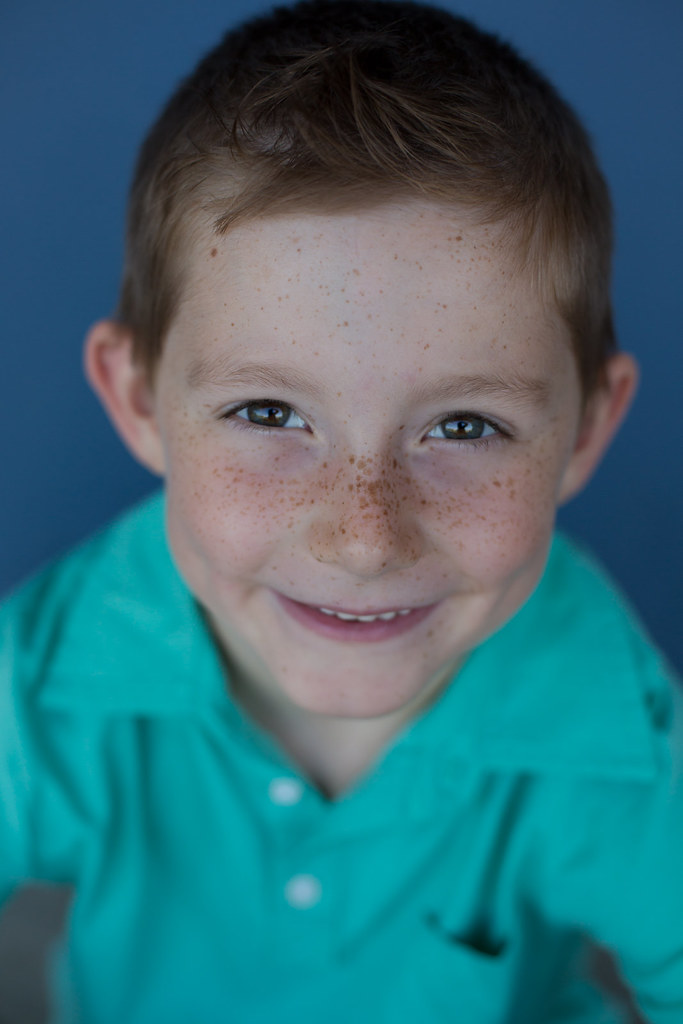
When doing a head shot, it's good to get the eyes at the top intersections of the lines.  I probably should have had him tilt his head  slightly upward as the top line is probably just above his eyebrows.

Simple way to take your photo one step up by following the rule of thirds!

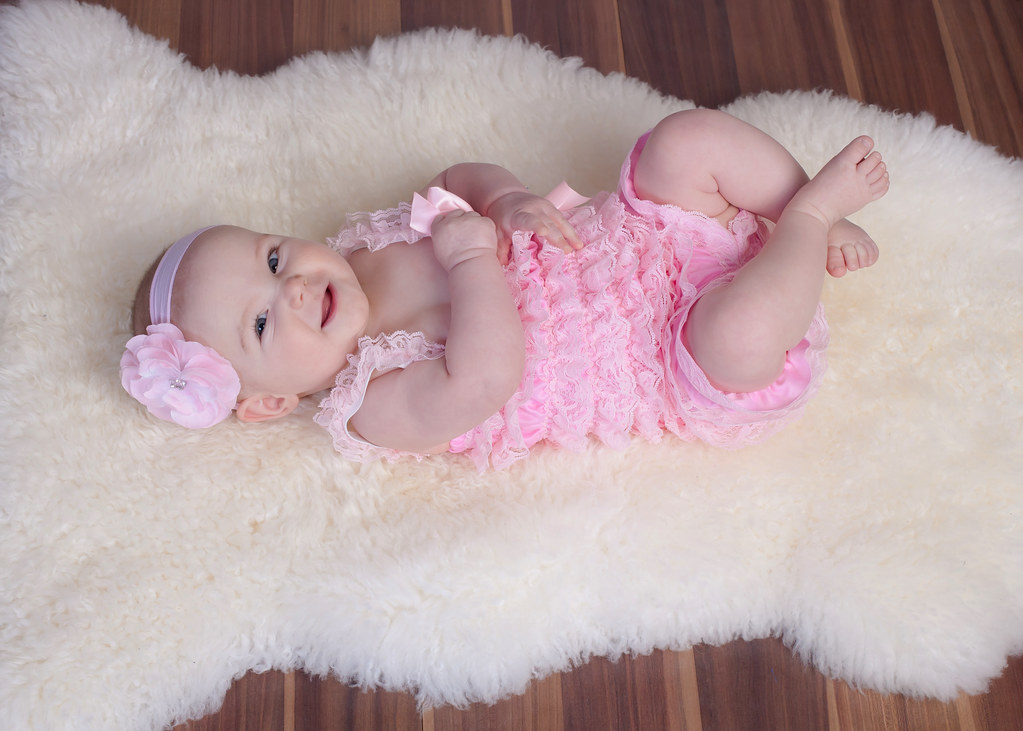
Here's 6 month old Nya with her eyes in the top third. And below, she's lined up in the center but her eyes are on the left third.

Simple way to take your photo one step up by following the rule of thirds!


Simple way to take your photo one step up by following the rule of thirds!

You can see that this photo also follows the Frame Your Subject rule from last time.

Hopefully that gives you some inspiration for the week :)  Have a good one and let me know if you have any questions!

Love,
Louise

Simple way to take your photo one step up by following the rule of thirds!

Friday, January 09, 2015

Fitbit Flex {Review}

This year, one of my goals is to work on my fitness.  I tackled the 18 lbs I wanted to lose in 2014 and now it's just maintaining that while becoming leaner, stronger, and faster.   I was not sure what kind of fitness tracker to get as they all seem so similar to me.  My sister in law recommended the Fitbit so I went for it.  The Fitbit Flex is about $99.95 and is on the cheaper end of the Fitbits.  It has so many things that it can do but I mostly just use it for keeping track of my activity and sleep.

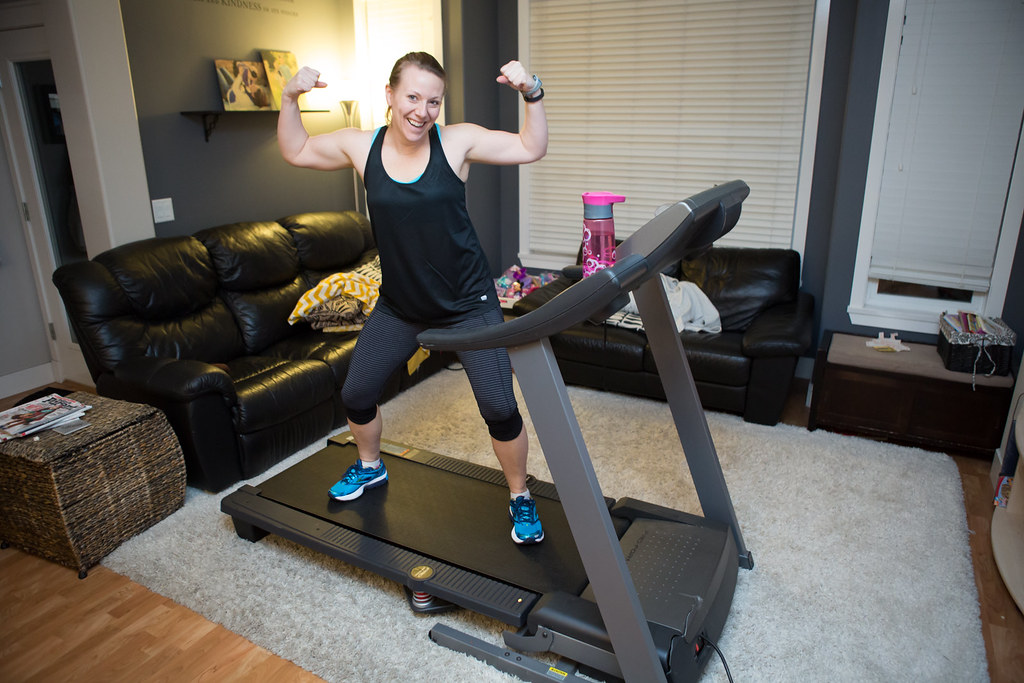
{You can see the black band on my wrist.  Each one comes with two size bands and I use the thinner, smaller one.  The downfall is that I have to wear the band with a watch which is a bit much.  If you bought a different one, like the Fitbit Charge, it comes with a watch.  And no, going without a watch is not an option for me!}

So, what do I like about it?

It tracks how active I am throughout the day. When I hover above a bar, it tells me how far I went in 15 minute increments.  Therefore, I know my jog at 8 pm was 3.4 km.  You can also see that I watched TV from 9-10:30 as there is very little activity.  This is a screen shot so you can't hover to see what I mean.  I believe the way it measures distance is from moving your arms because when I rode my stationary bike, it said I had very little activity.   You can enter it manually if you wish but I don't wish to.


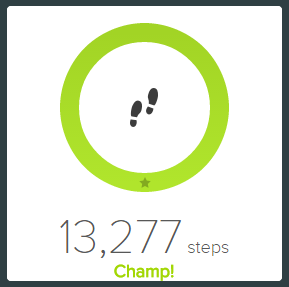
You can set goals for how many steps you would like to achieve per day.  Mine is 10,000.  It syncs on my phone and computer throughout the day (there is a dongle attached to my computer) and let's me know where I'm at.  Once you hit 10,000 steps, the band vibrates and indicates that you are a champ.  I seriously love that vibration as I feel a tad bit awesome.


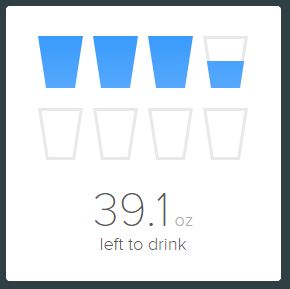
On your dashboard, you can track your weight, food and water.  I don't track any food. You just tap to add a drink when you have one.  It really makes me see that I never drink enough.  And really, only 1.5 of those cups is water, the other two are a coffee and a smoothie.  Oops. 


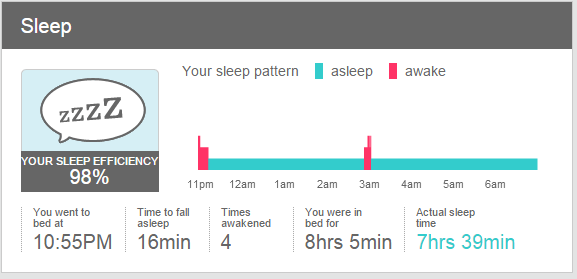
Another part I was very interested in was my sleep.  Nya has been sleeping through the night for almost a year now.  Also, since we've eliminated sugar, I sleep so much better.  You can definitely see it in the sleep log!  The frustrating part about the Fitbit Flex is that you have to tap it to set when you are going to sleep and then tap it again when you wake up.  Other Fitbits are able to track sleep automatically.  

I noticed a few issues with the sleep tracker but then realized I can edit out the mistake (which was saying that I went back to sleep after I got up for the day!) on my dashboard.  I don't love that but hopefully I can figure out the appropriate `tap' to get it to stop tracking my sleep. Also, just know that it takes about an hour in the morning for all the sleep information to sync.


It took me 16 minutes to fall asleep, I woke up 4 times and from 3:00-3:05 I was awake and took about 12 steps (I brought Nya her puffer).  Another very tool is that I can set my alarm on my computer dashboard and my Fitbit will wake me up with a gentle vibration on my wrist.  It was a very pleasant way to wake up!


I love that the results are also on my phone and I can sync it any time.  This is a screen shot of it.  It does track your calories burned because it has your stats (height, weight, age, sex) and knows your activity level to some degree.

The battery does need to be recharged every 5 days or so.  It comes with a battery and charger and takes about 2-3 hours to fully charge.  It is water resistant and I just don't take it off.

So, would I recommend it?  If you feel committed to a fitness plan, then yes, it's something to keep you accountable.    Would I recommend getting one a step above?  Yes.  That way you can have it with the watch and the automatic sleep tracker.  I give it a 7.5/10 for it's value and ease of use.

I'd love to hear the pros and cons of fitness trackers that you  might have.  If you don't have one, would you get one?  

Have a great weekend everyone!

Love, 
Louise

PS If you don't follow on Facebook, Twitter or Instagram, I'd love to see you there!