.jpg)
Showing posts with label recipe. Show all posts
Showing posts with label recipe. Show all posts
Thursday, February 22, 2018
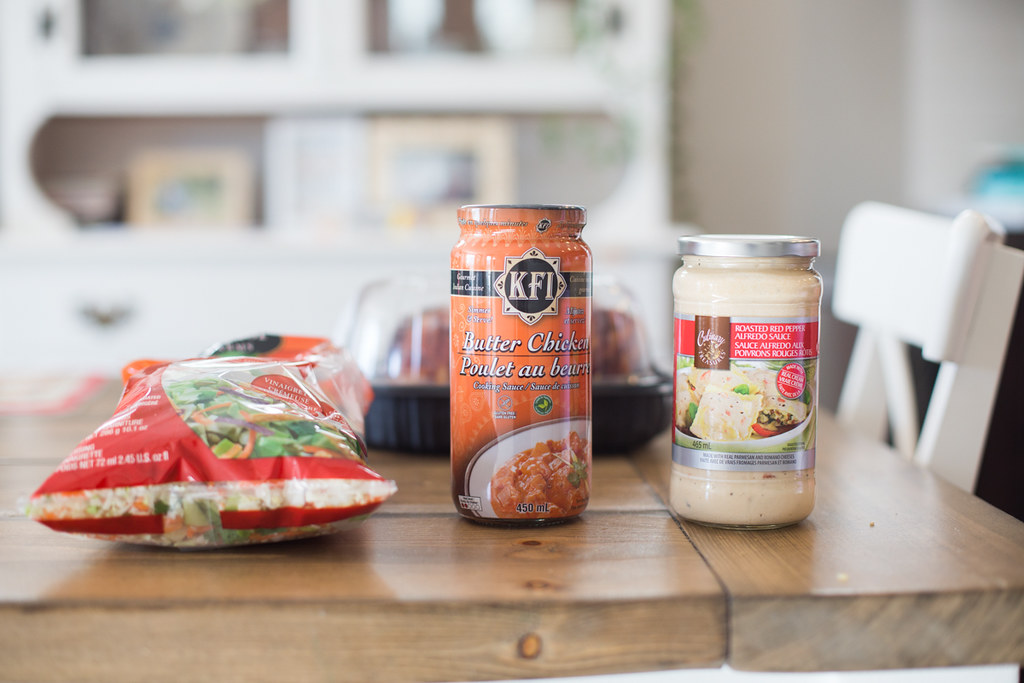
Three Simple Meals Using One Rotisserie Chicken
Several weeks ago I was overwhelmed with the number of kids we had and the schedule we currently juggle. I knew I had to meal plan better and push aside the notion that everything had to be from scratch. We had purchased 1/4 of a cow this fall and were a little beefed out – we needed some variety of the chicken nature. Here are three super simple meals which are healthy-ish, made in under twenty minutes and nice on the wallet too. How do I do it? It all starts with one rottiserie chicken that can be used to make two to three meals depending on the number of people in the family. Great savings, right?!


Saturday, January 13, 2018
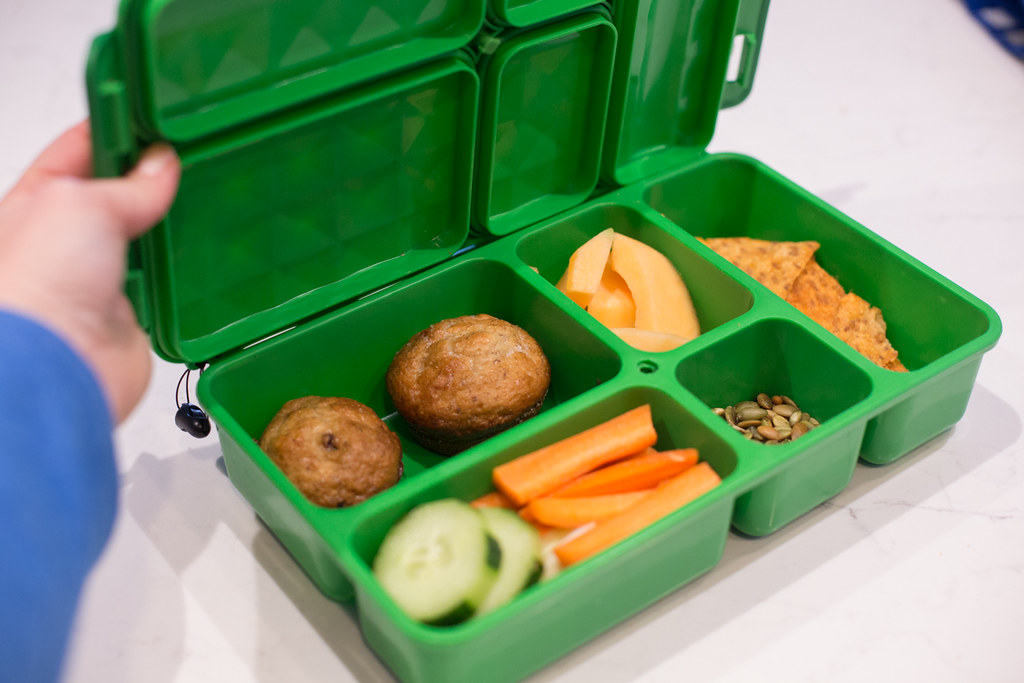
Are Bento Boxes Worth the Investment?
I was very skeptical making my bento box purchase.
Would it hold enough food for my fast-growing boys? Would the liquids make everything soggy when it was tossed around in their backpacks? Would my kids make a huge mess trying to get it open? Is it actually worth all that money?
Tuesday, December 19, 2017
Should You Buy an Instant Pot?
Yes, I'm late the Instant Pot party. I generally like to get a feel for how a product is doing longevity- wise before diving in. After a year of the Instant Pot gracing my Facebook and Instagram feed from friends I knew and trusted, I reluctantly succumbed to the Black Friday sales.

Tuesday, October 31, 2017
How to Make Natural Deodorant That Actually Works
I have been wearing natural deodorant for three years. The reason I decided to move in this direction is that although antiperspirants claim to be safe, I want to reduce any possible risks due to my genetics. Men often have deodorant options but most of the ones available for women are also antiperspirants with parabens and aluminum. That sweat was meant to come out for a reason–we don't want to clog our pores on our face so why would we do it under our arms?
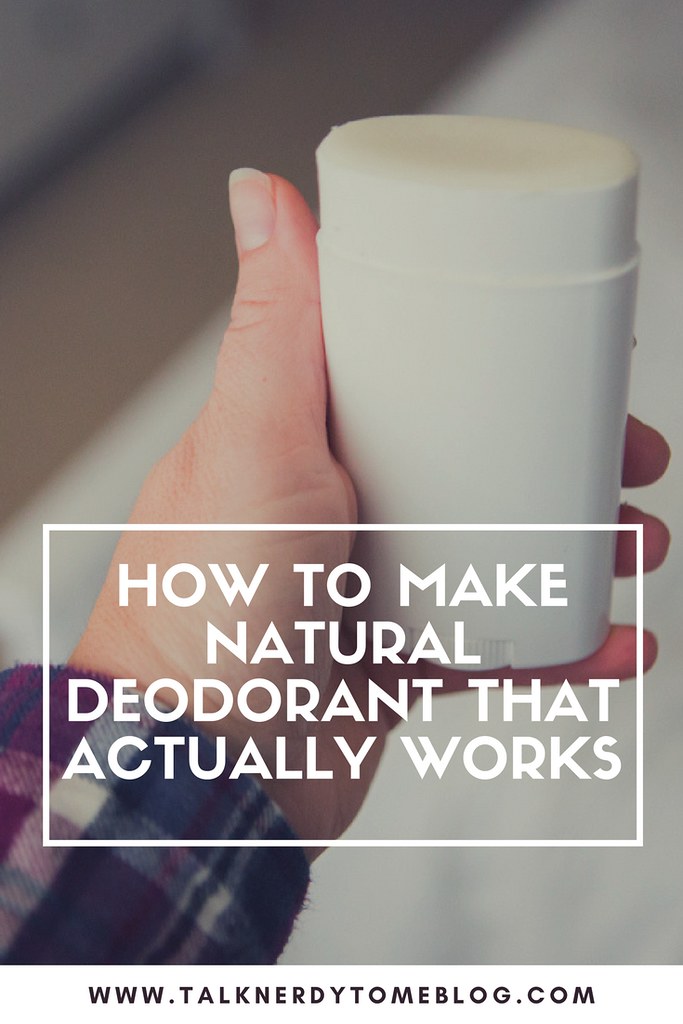
I have tried about 15 different kinds of natural deodorant over the years and all are not created equally. I have really enjoyed pastes as they tend to work the best and are gentle on my armpits. I recently decided to make my own and put it to the test; I ran 5 km's, I chased after children, I even taught a full day of PE. The result? This recipe works. So, without further ado, here is the simple recipe to make your own deodorant.
I have tried about 15 different kinds of natural deodorant over the years and all are not created equally. I have really enjoyed pastes as they tend to work the best and are gentle on my armpits. I recently decided to make my own and put it to the test; I ran 5 km's, I chased after children, I even taught a full day of PE. The result? This recipe works. So, without further ado, here is the simple recipe to make your own deodorant.
Saturday, September 09, 2017
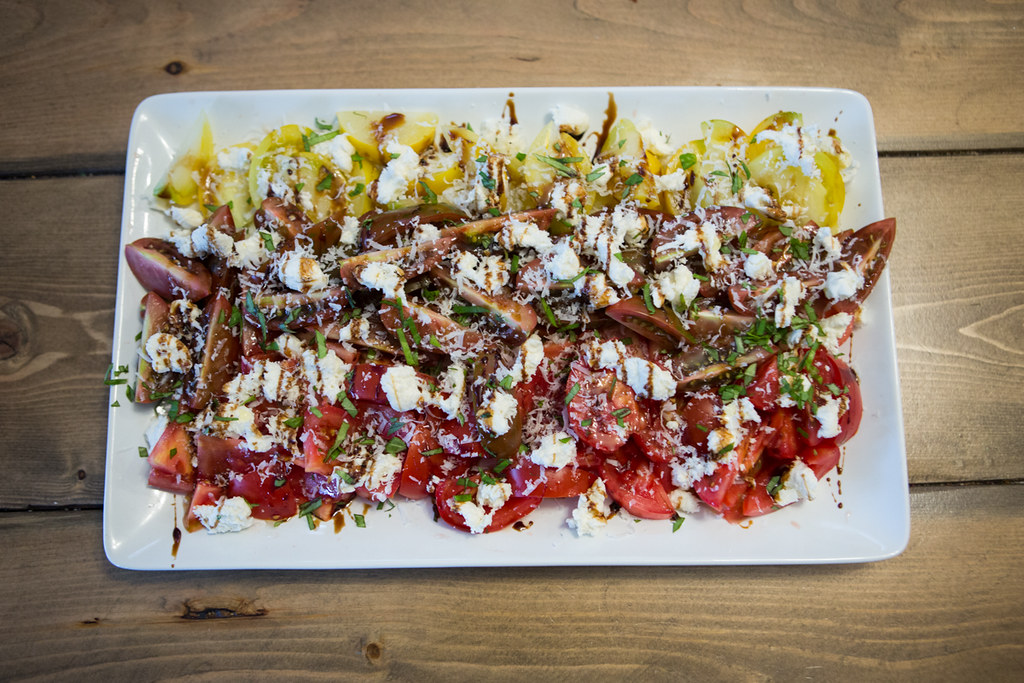
Simple and Delicious Tomato Salad
Are you wanting a simple and nutritious salad for dinner tonight? Maybe you have an event you're going to and you need to bring a fruit or vegetable dish. If you were you coming here for exact measurements, I apologize, but salads are flexible. You like cheese, go wild. You like balsamic vinegar the most, have fun! This is a versatile salad and such a crowd-pleaser using just six ingredients.
Thursday, August 31, 2017
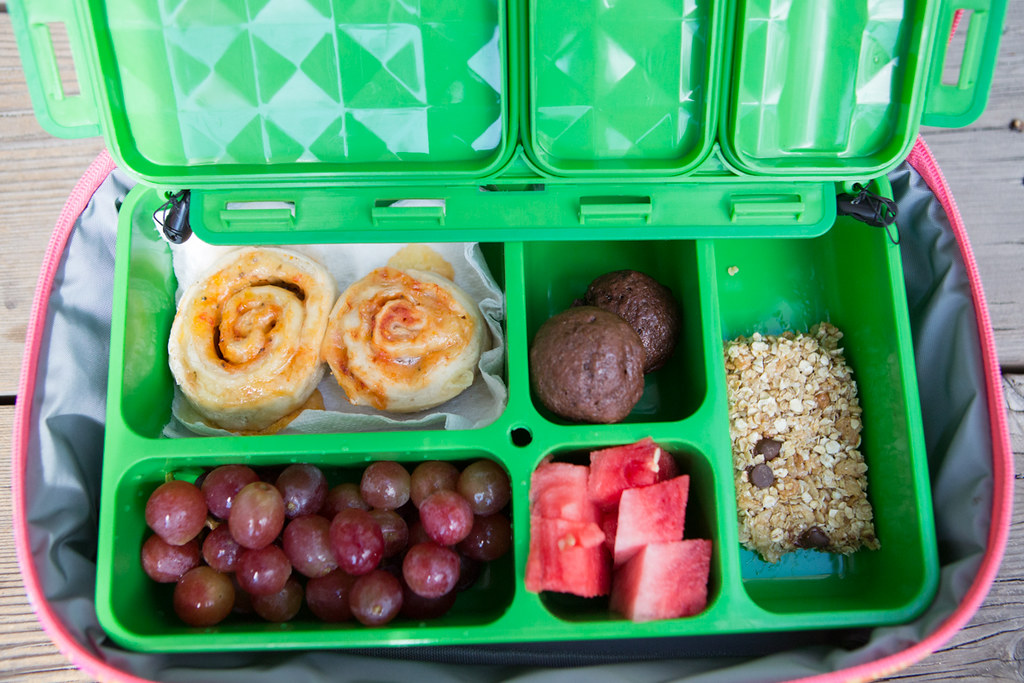
Three Delicious Recipes for the Lunch Box
I recently bought bento boxes for the kids' lunches in order to first prevent waste from individual packaging and lost lids and then save time from trying to find lids and then having to wash individual containers. Another thought going into lunch making is that I want healthy food options for them each day. Well, this has always been my intention but sometimes when life gets busy, pre-packaged foods get thrown hastily into a bag. A recent visit to the naturopath has reaffirmed that we need to be more intentional about things like preservatives and food dyes.
Here are three recipes that I tried this week that I thought were major hits:
Tuesday, October 25, 2016
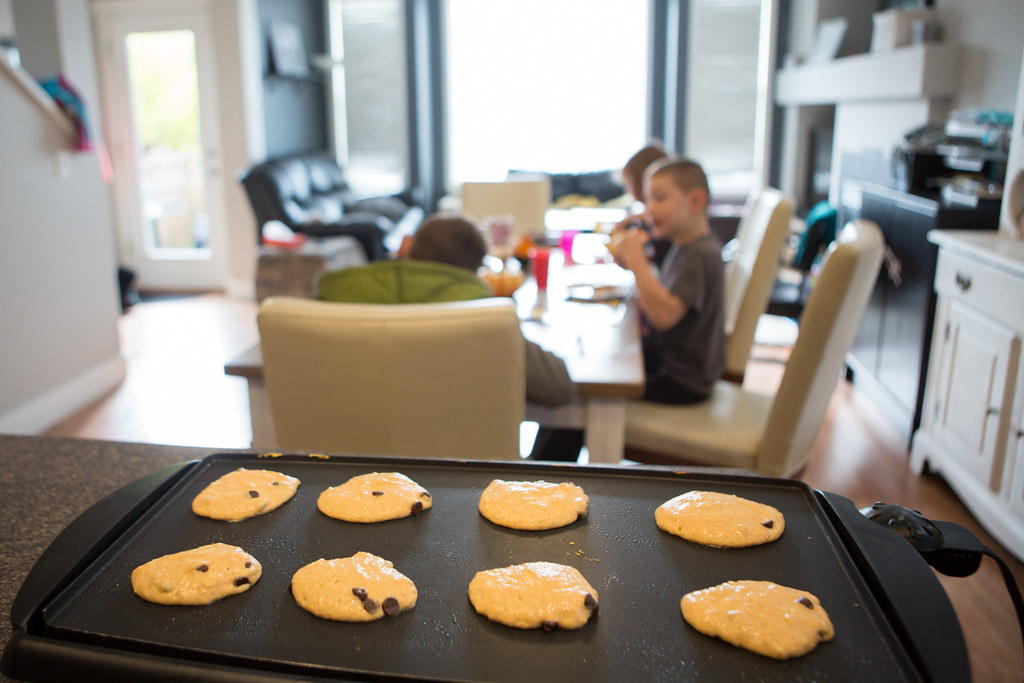
Pumpkin Pancakes
What do you do with your pumpkins once Halloween is over? Have you ever thought to roast them and make puree? We don't carve all of our pumpkins so that we can use our decor as food and I've written about it here. One of the newest recipes that I've tried is one of my absolute favourites: Pumpkin Pancakes.
Monday, November 09, 2015
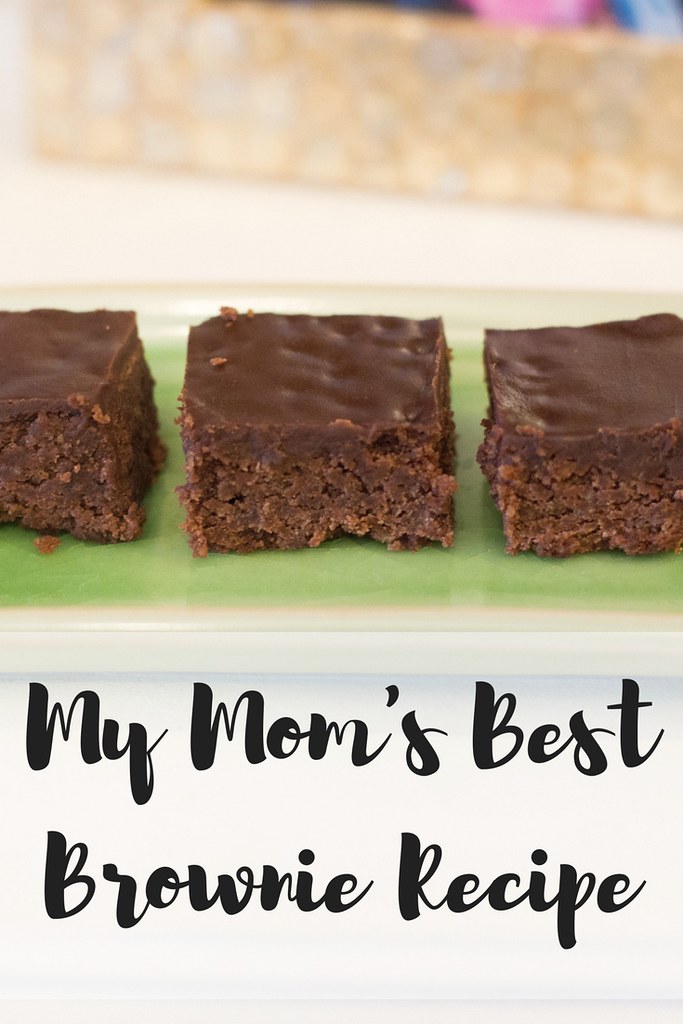
My Mom's Best Brownie Recipe
Growing up we were blessed with homemade cookies every day. My mom had about six different baking recipes that were her favourites and she always had this variety ready for our after school snack and in case company came by.
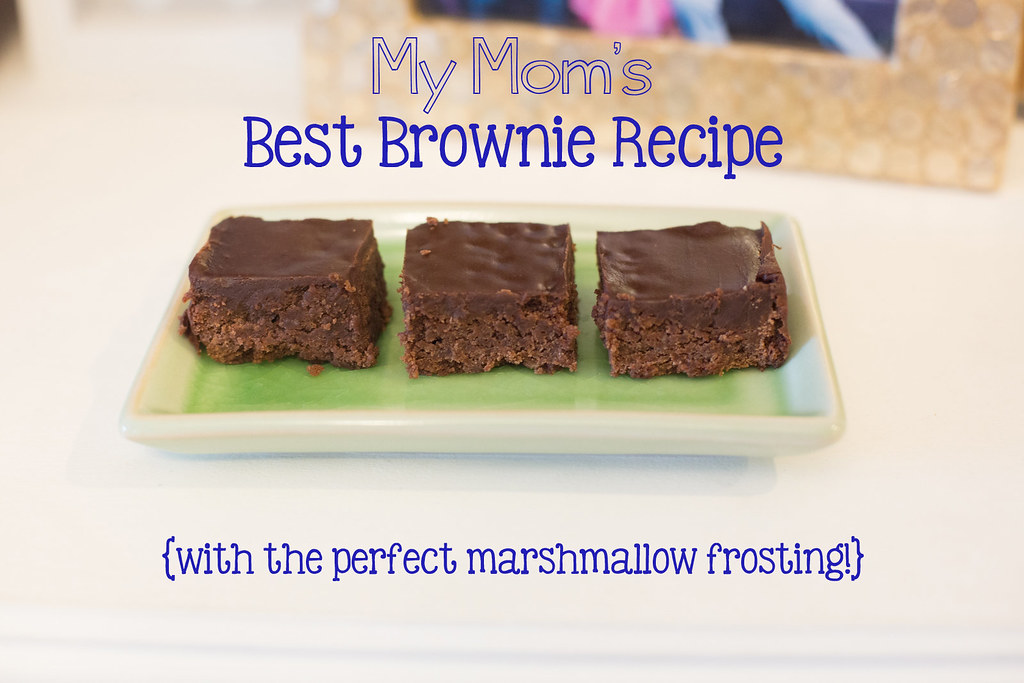
The one recipe that received the most comments was "The Best Brownie" one. My sisters and I have all of our childhood recipes in a book my mom lovingly put together before she passed away (highly recommend this!)
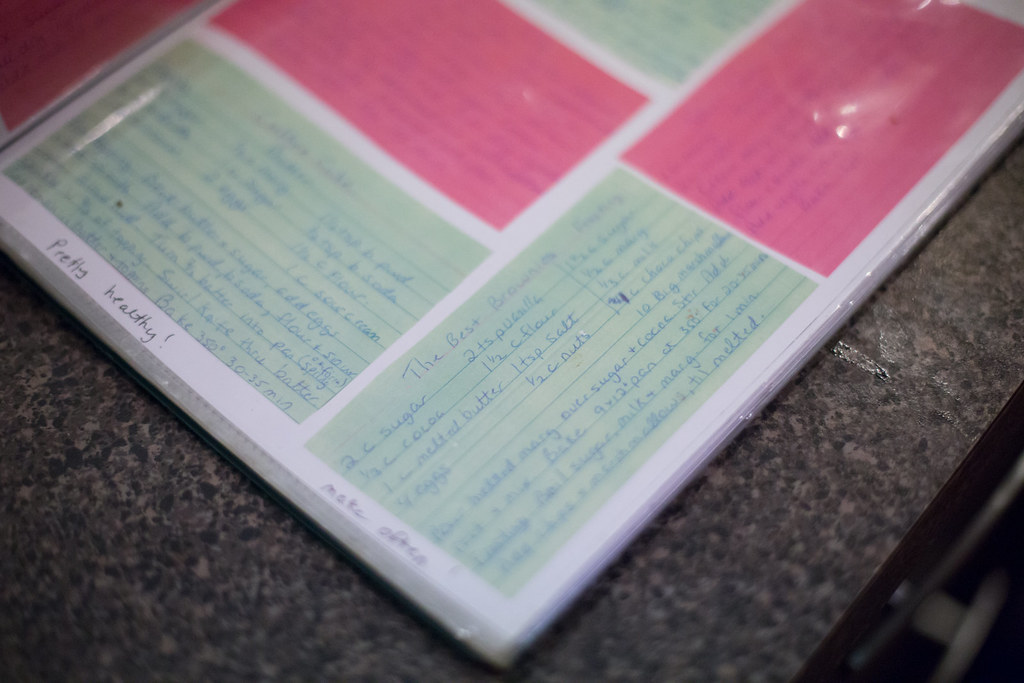
This week, Kai decided to make this very recipe. He sweetly said that he would like to pass on the brownie recipe to his kids (melt me!)
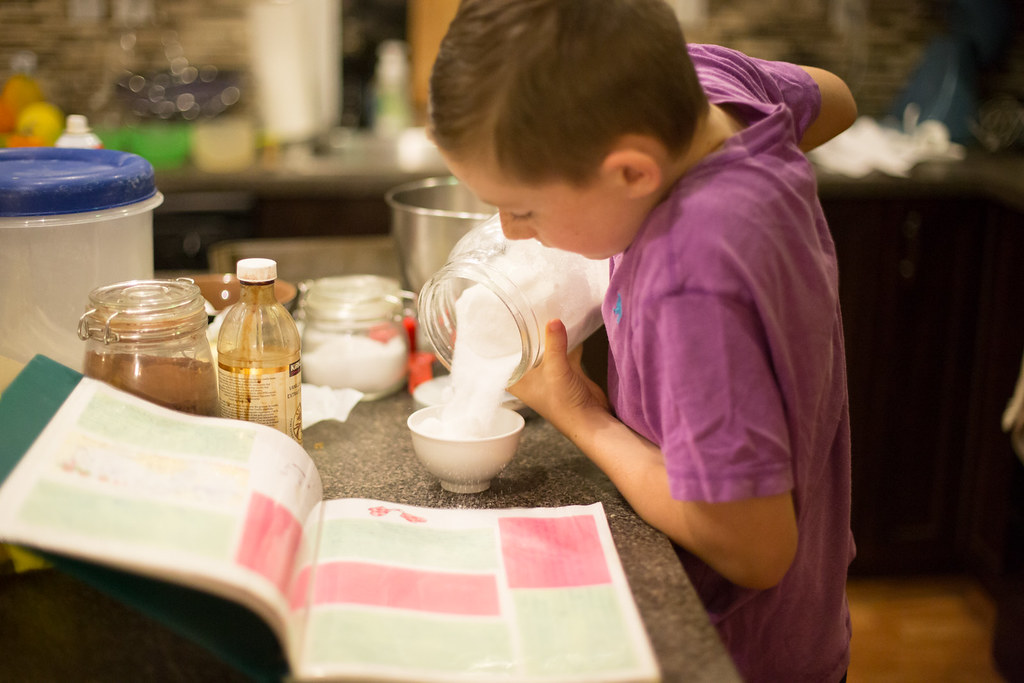
There is a lot of sugar in this recipe so just be aware of that! Kai gave Nya the job of counting out 10 large marshmallows – what a good delegater.
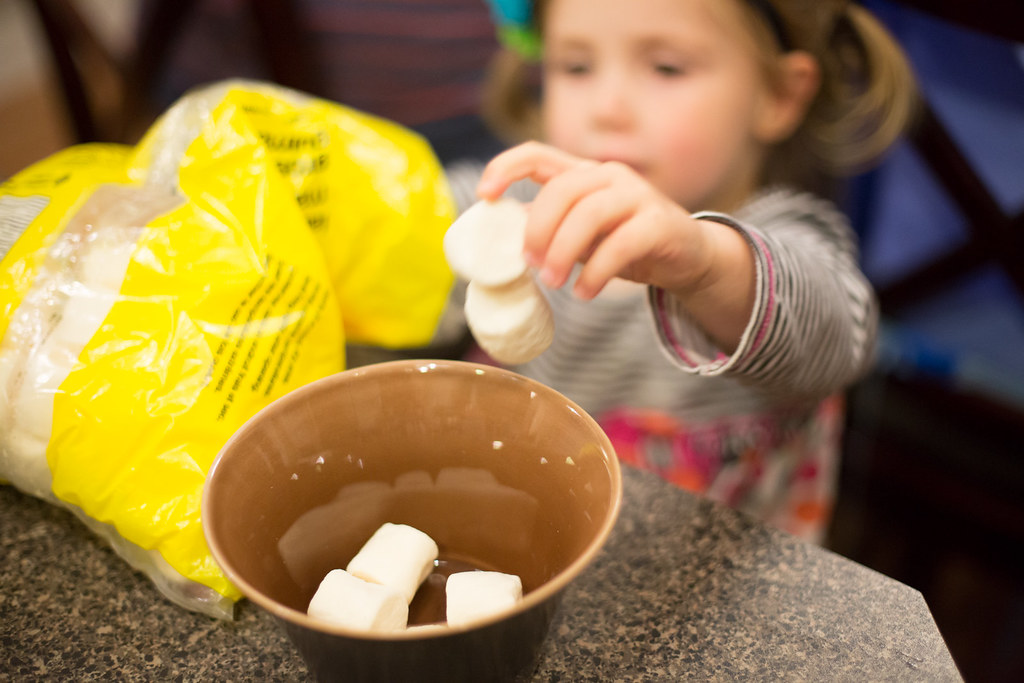
I love seeing my kids baking or cooking in the kitchen, what a great life skill!

I think all the great cooking shows out there help to inspire them.
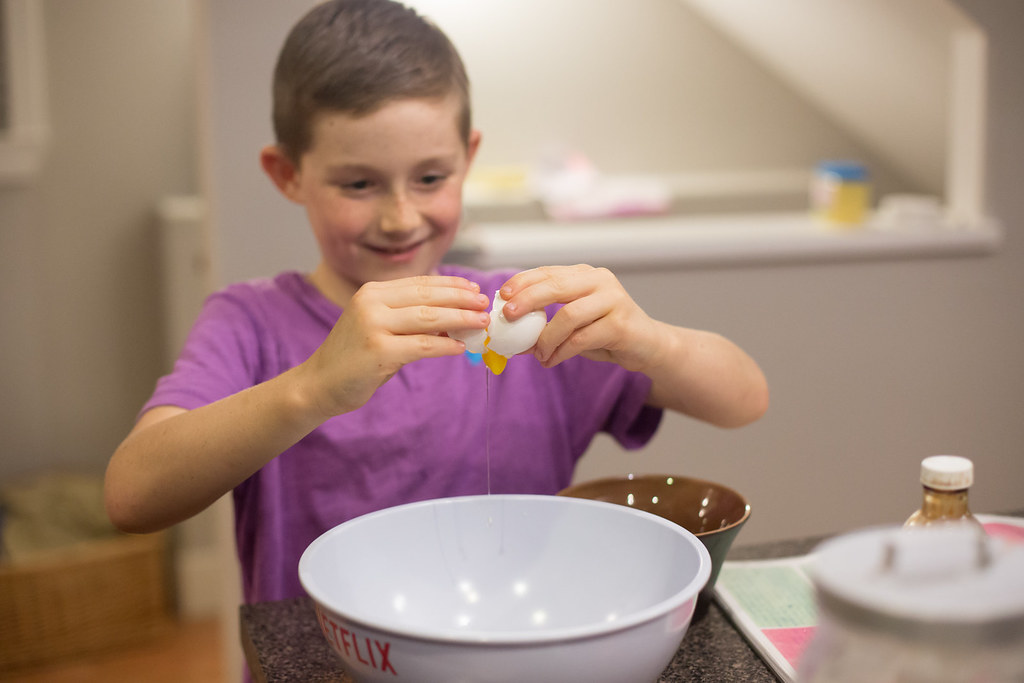
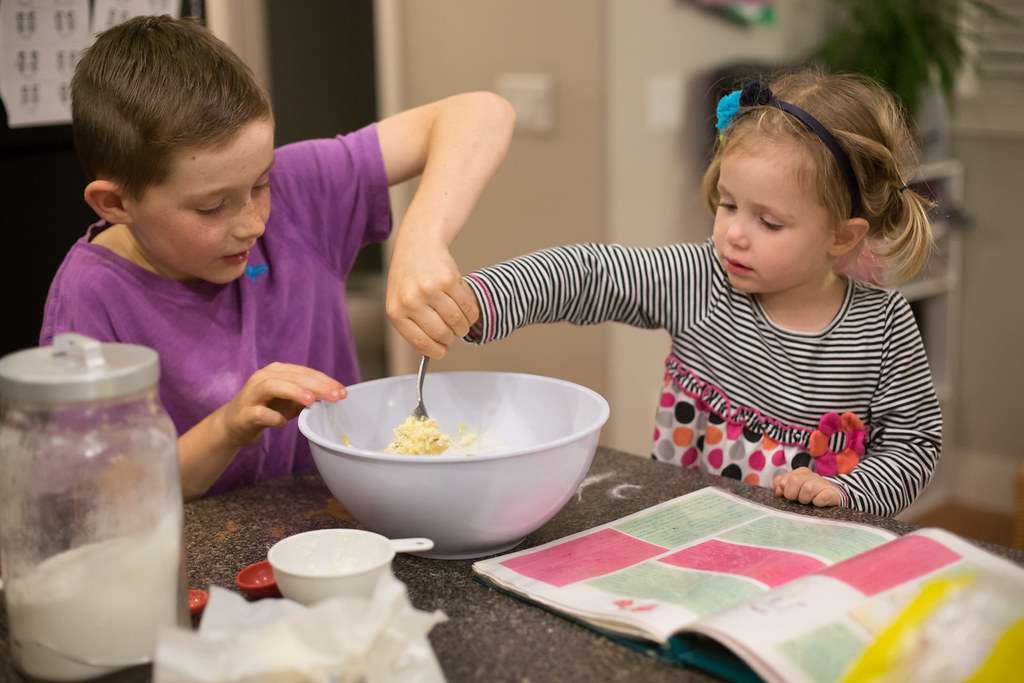
The "secret" ingredient is marshmallows as it makes for the perfect brownie frosting. Pretend my stove top is streak free.
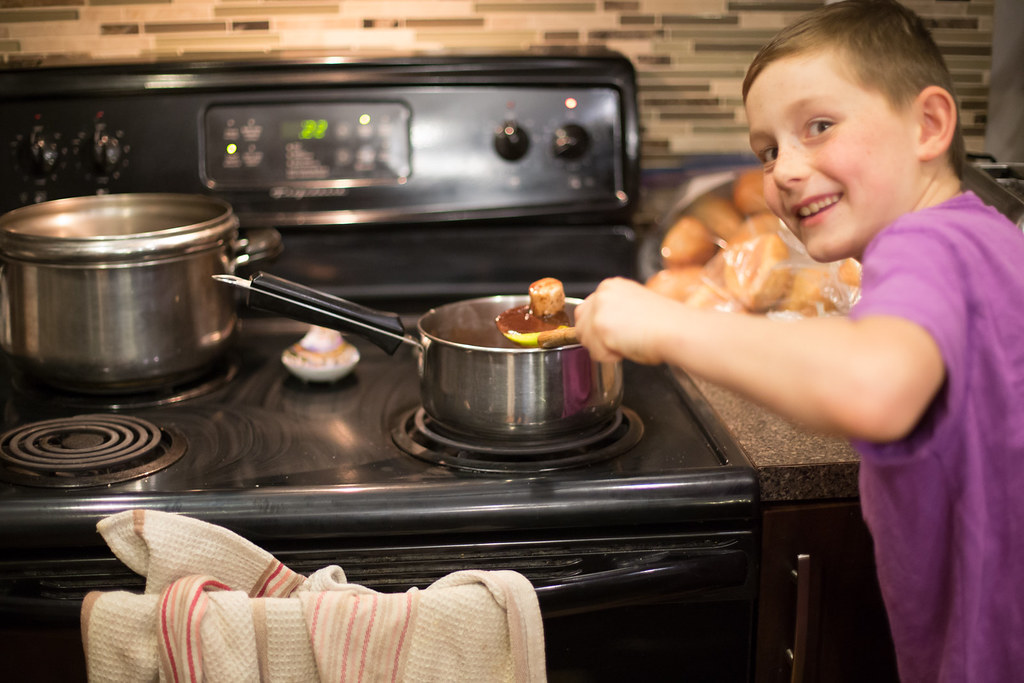
It takes about 30 minutes from start to finish to make a large batch of brownies.

And of course, each bowl contains delicious chocolate.
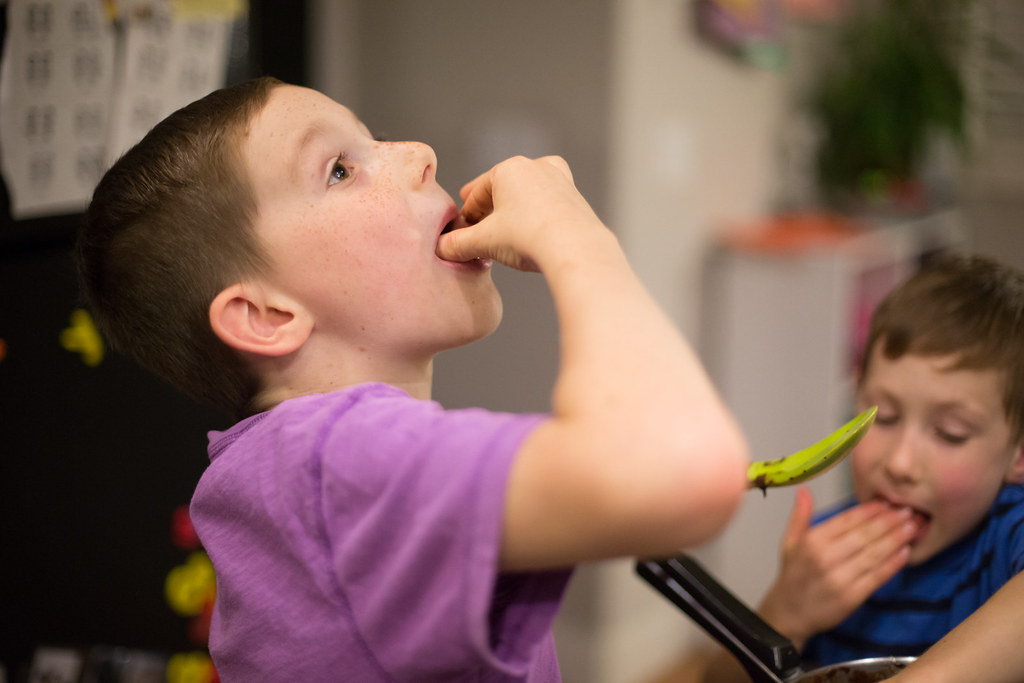
Ta da! So moist, sweet, and gooey. It is also very scrumptious warmed up with a scoop of vanilla ice cream on it.
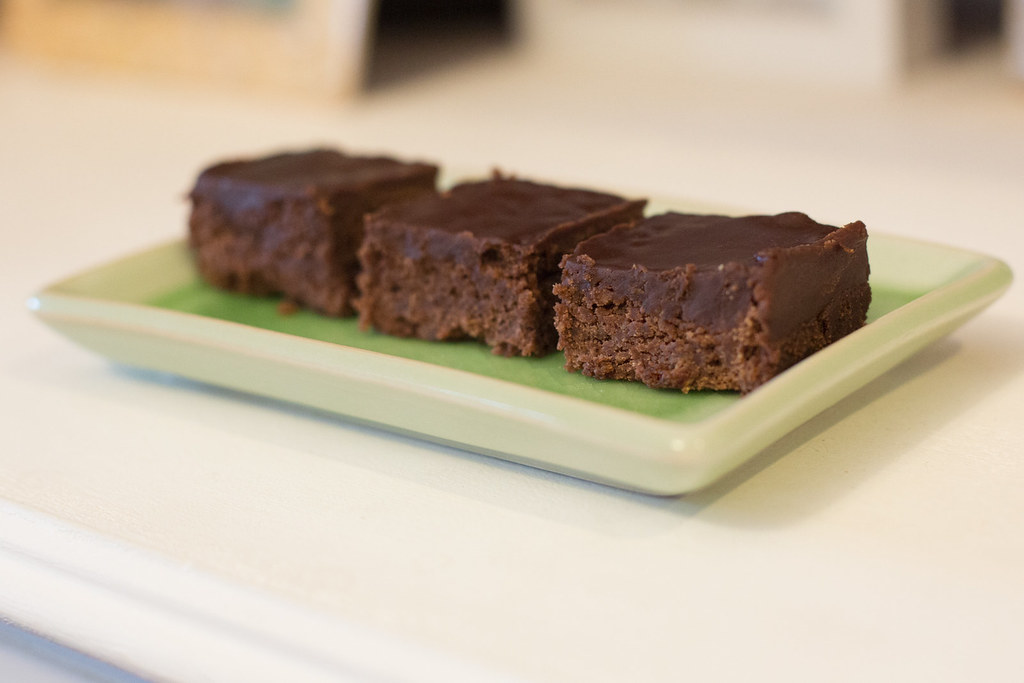
Ingredients
Brownie:
2 cups of sugar
1/3 cup of cocoa
1 cup of melted butter
4 eggs
2 tsp vanilla
1 1/2 cups of flour
1 tsp salt
1/2 cup walnuts (optional)
Frosting:
1 1/2 cups of sugar
1/2 cup of butter
1/3 cup of milk
1 cup of chocolate chips
10 large marshmallows
Instructions:
1. Pour melted butter over sugar and cocoa. Stir. Add the rest of the brownie ingredients and mix. Bake in a 9 X 12" pan at 350 C for 25 minutes.
2. For the frosting, boil sugar, butter and milk for 1 minute. Add the chocolate chips and marshmallows stirring until melted.
3. Remove brownie from oven and cool slightly. Pour frosting on top and cool in the fridge.
All right, I'm going to go have one now. What was one of your favourite childhood homemade treats?
Love,
Louise
Monday, September 21, 2015
Hamburger Bean Pot
This is a childhood recipe that we all loved; it's so easy and affordable to make. Gary and I like it as a quick "go to" when we don't know what to make and are limited on time. My mom put together a recipe book of all our favourite recipes before she passed away and I love using it – I have so many wonderful memories connected to food, do you?
As you can see in my mom's writing, it's "so easy, so good!" I love, love, looooove this special gift that I have from her.
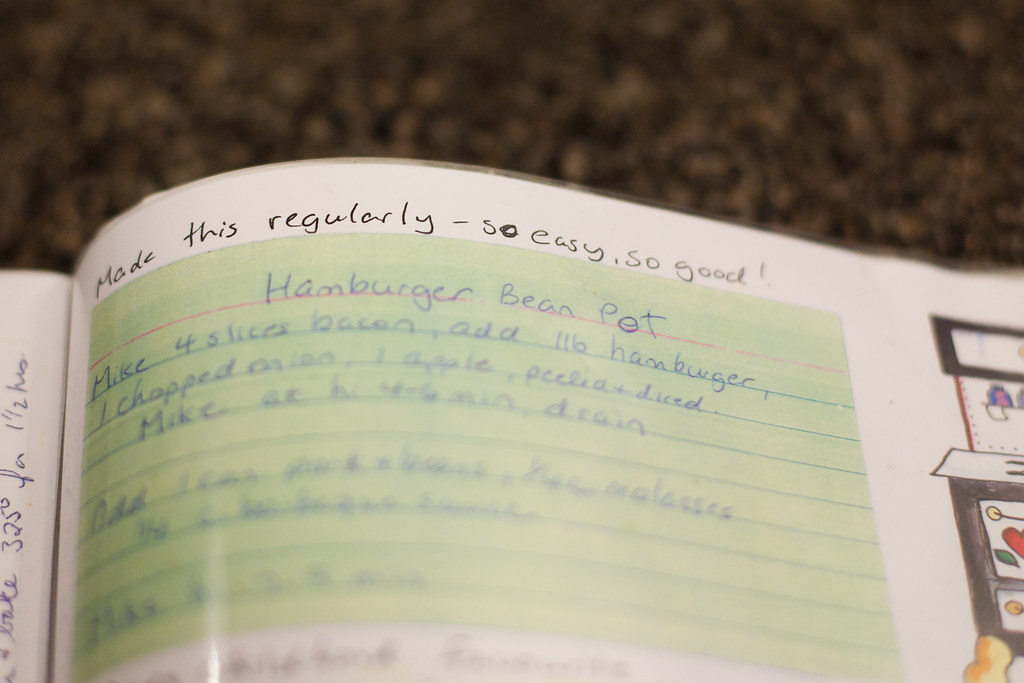
Hamburger Bean Pot
Ingredients:
4 slices of bacon chopped
1 lb ground beef
1 chopped onion
1 apple peeled and diced
1 can of brown beans
1/4 cup of molasses
1/4 cup of barbeque sauce
Instructions:
Brown ground beef, onion and bacon. Add the apple (I always add two), brown beans, molasses and barbeque sauce and stir over medium heat for about 10 minutes. Serve over rice or mashed potatoes.
Super easy, right?

As my mom said in her recipe book to us, " It is a gift of love and memories to sit together and make time for each other." What is a special family meal that you had growing up?
Love,
Louise
As you can see in my mom's writing, it's "so easy, so good!" I love, love, looooove this special gift that I have from her.
Hamburger Bean Pot
Ingredients:
4 slices of bacon chopped
1 lb ground beef
1 chopped onion
1 apple peeled and diced
1 can of brown beans
1/4 cup of molasses
1/4 cup of barbeque sauce
Instructions:
Brown ground beef, onion and bacon. Add the apple (I always add two), brown beans, molasses and barbeque sauce and stir over medium heat for about 10 minutes. Serve over rice or mashed potatoes.
Super easy, right?
As my mom said in her recipe book to us, " It is a gift of love and memories to sit together and make time for each other." What is a special family meal that you had growing up?
Love,
Louise
Monday, August 17, 2015
Chicken Rolls | My Birthday Dinner
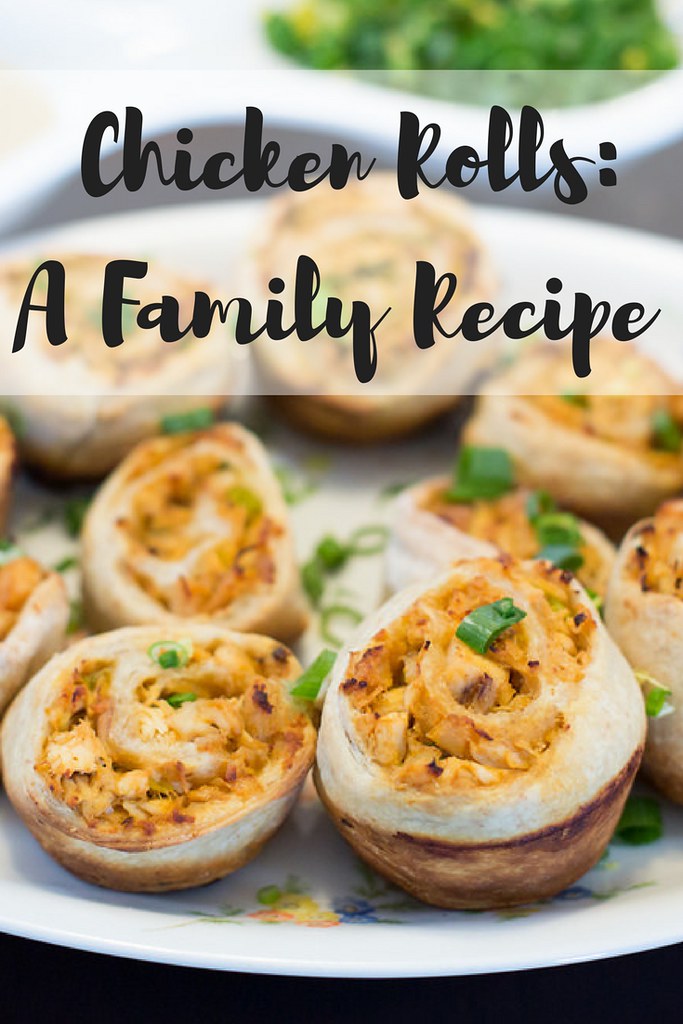
Before my mom passed away, she gave each of us girls a recipe book which contained all of our childhood favourites. Every year we picked a birthday meal and this was mine year after year: Chicken Rolls. I loved it because we didn't have chicken very often and it was baked in homemade dough. Let's be honest, we were a meat and potato family growing up so this was a very nice change from the norm. Covering it all with a thick layer of cheese sauce was the icing on the cake.

Since we've been married, Gary has taken on the role of making this special meal for me and I really appreciate it. I think I now love it it because it brings me back to my childhood, my mama, and well, it just tastes good!
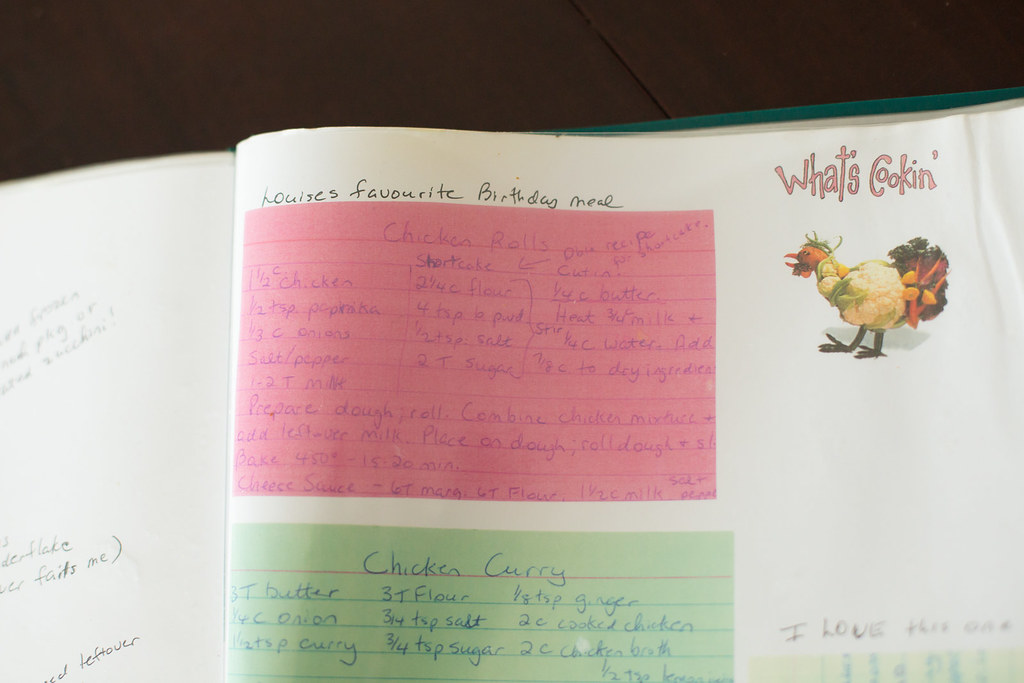
I'll write it out for you here:
Dough:
1. Mix the first 4 ingredients:
2 1/4 cup flour
4 tsp baking powder
1/2 tsp salt
2 TBSP sugar
2. Cut in 7/8's of this mixture into the dry ingredients.
1/4 cup of butter
3/4 cup of warm milk
1/4 cup of water
Chicken Mixture:
3. Cook the following:
1 1/2 cups of chicken (we just use a pre-cooked roasted chicken and probably add more than 1 1/2 cups)
1/2 tsp paprika
1/3 cup onions
salt and pepper
1-2 TBSP of milk
Random assortment of veggies like shredded zucchini, carrots, celery
Putting it together:
4. Roll out the dough and sprinkle the chicken mixture on top plus the remaining 1/8th of the butter/milk/water combo. Roll it up (like sushi) and slice it so that each piece fits in a muffin tin.
5. Bake at 450F for 15-20 minutes in a pre-greased muffin tin.
6. Make a cheese sauce (butter, flour, milk and cheese) and top with green onions.
Do you have a special birthday meal? If so, what is it?
Love,
Louise
Wednesday, May 13, 2015
Chocolate Zucchini Loaf {Gluten Free}
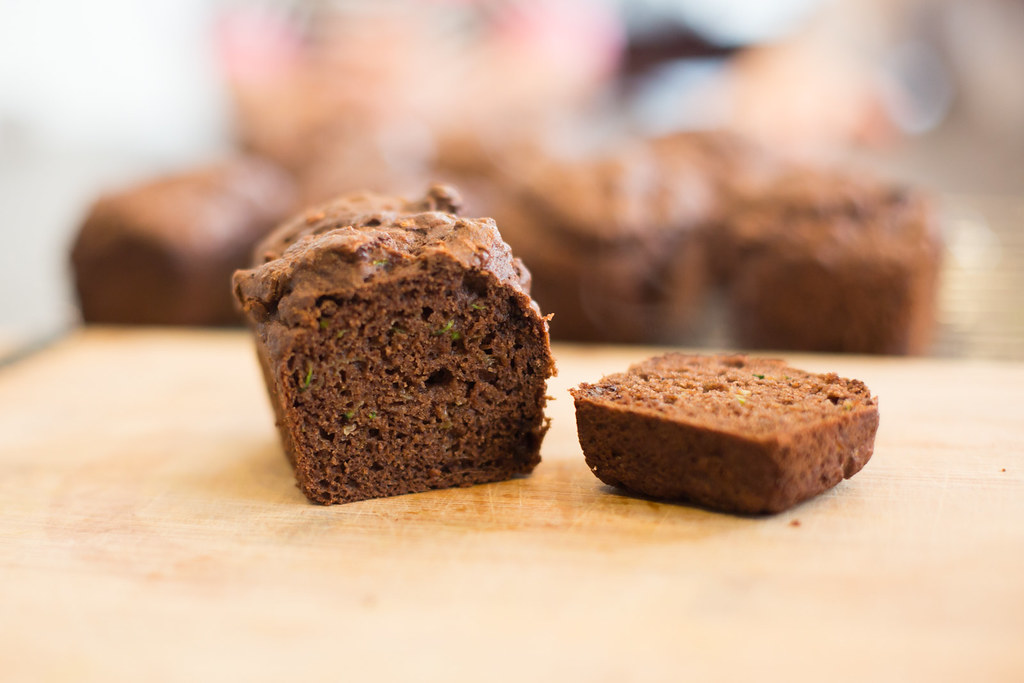
I love baking but I don't do it often because we have really cut down our refined sugar. Another reason is that Nya has been on a gluten and dairy free diet so this just always seems to make it a bit trickier! This Chocolate Zucchini Loaf is an adapted recipe from `The Looneyspoons Collection' by Janet and Greta Podleski that they call `Isn't She Loafly'.


Ingredients
2.5 cups gluten free all-purpose baking mix (I use Costco's Cloud 9)
1/2 cup cocoa powder
1 1/2 tsp baking powder
1 tsp baking soda
1 tsp cinnamon
1/2 tsp salt
1 cup sugar (if you need it a bit sweeter, increase this to 1 1/2 cups)
3 eggs
1/2 cup unsweetened applesauce
1/3 cup vegetable oil
2 tsp vanilla
2 cups grated zucchini (I use one zucchini)
1/2 cup chocolate chips
Instructions:
1. Preheat oven to 350 F. Spray two 8 X 4 inch loaf pans (or 8 mini loaf pans) with cooking spray. I like mini loaves because sharing one loaf between the three of us is the perfect serving size.
2. In a medium bowl, combine the first 6 ingredients.
3. In your mixer, whisk the sugar, eggs, applesauce, vegetable oil and vanilla. Stir in the zucchini. Add the dry ingredients and mix just until combined. Fold in chocolate chips (add dairy free chocolate chips to make this dairy free too!).
4. Spread batter into the pans and bake for either 50 minutes in large loaf pans or 35 for mini ones.
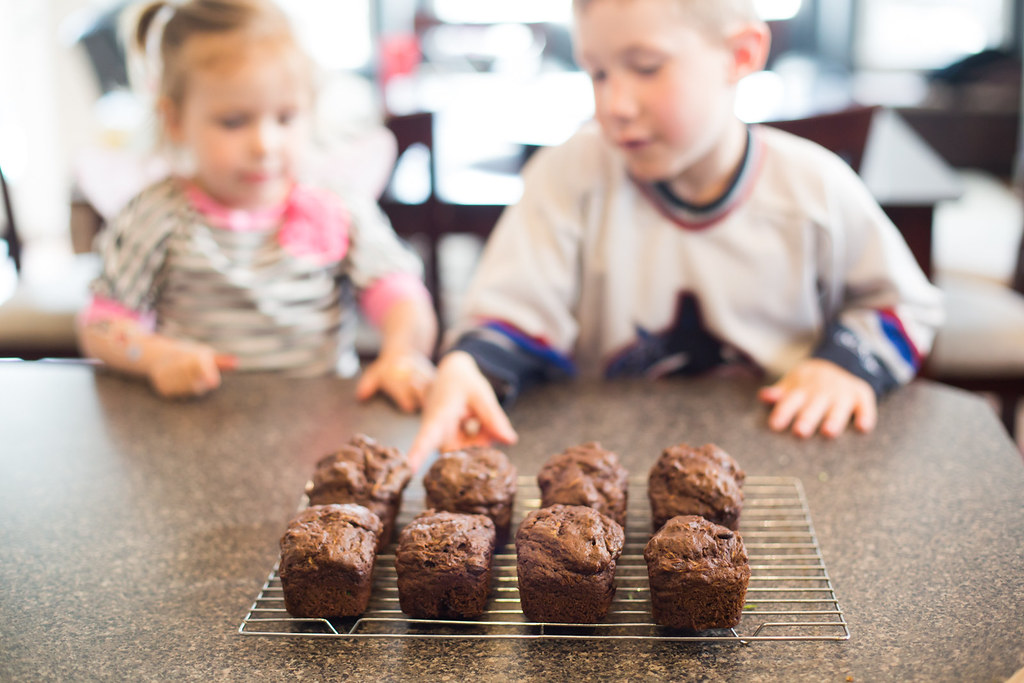
The kids loved it. We shared one before the going to the park.....and then another one when we got back.
Have a great day!
Love,
Louise
Ingredients
2.5 cups gluten free all-purpose baking mix (I use Costco's Cloud 9)
1/2 cup cocoa powder
1 1/2 tsp baking powder
1 tsp baking soda
1 tsp cinnamon
1/2 tsp salt
1 cup sugar (if you need it a bit sweeter, increase this to 1 1/2 cups)
3 eggs
1/2 cup unsweetened applesauce
1/3 cup vegetable oil
2 tsp vanilla
2 cups grated zucchini (I use one zucchini)
1/2 cup chocolate chips
Instructions:
1. Preheat oven to 350 F. Spray two 8 X 4 inch loaf pans (or 8 mini loaf pans) with cooking spray. I like mini loaves because sharing one loaf between the three of us is the perfect serving size.
2. In a medium bowl, combine the first 6 ingredients.
3. In your mixer, whisk the sugar, eggs, applesauce, vegetable oil and vanilla. Stir in the zucchini. Add the dry ingredients and mix just until combined. Fold in chocolate chips (add dairy free chocolate chips to make this dairy free too!).
4. Spread batter into the pans and bake for either 50 minutes in large loaf pans or 35 for mini ones.
The kids loved it. We shared one before the going to the park.....and then another one when we got back.
Have a great day!
Love,
Louise
Wednesday, January 28, 2015
Homemade Yolos {Recipe}
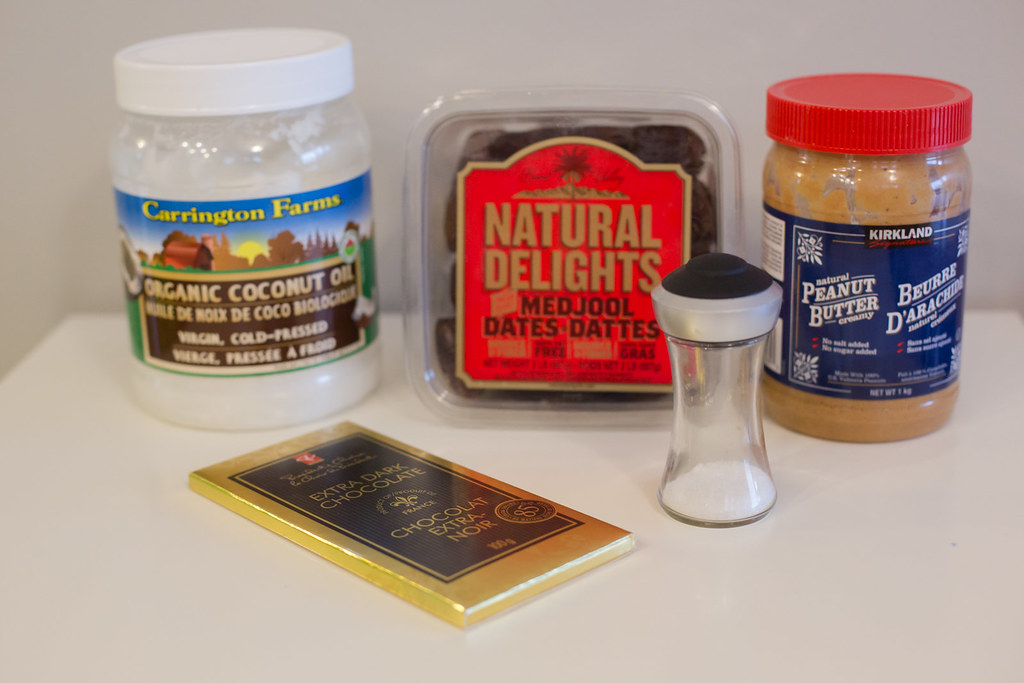
You know when you want something sweet but healthy? This is the perfect item to keep in your freezer for when you need a quick pick-me-up. It is gluten-free and with very little refined sugar. Homemade yolos from Oh She Glows takes very few ingredients and are considered more of a sweet dessert.
Friday, January 16, 2015
Peanut Butter Cookie Dough Bites
I know I'm a bit crazy with the recipe sharing lately but I like to share ones that I try and like. I decided to check out the `Power Snack' section of the Oh She Glows cookbook for an after school snack for the kids. This was a hit. There is maple syrup in it which is something I try not to have too much of but I definitely had to try one (or two!) of these.
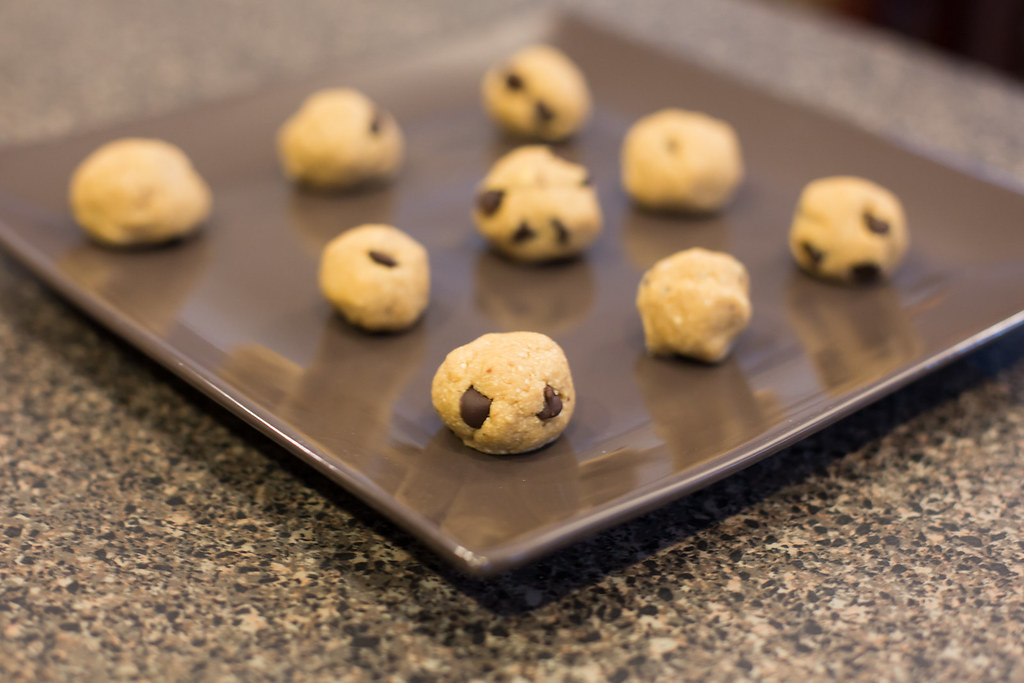

The recipe calls for oat flour and I've never made it before but it was so easy! Took just one minute.

PEANUT BUTTER COOKIE DOUGH BITES
Ingredients:
1 1/2 cups of gluten free oats (I use regular oats)
2 TBSP coconut oil
2 TBSP natural peanut butter
1/4 cup of maple syrup
1 tsp vanilla extract
1/2 cup almond flour (I didn't use this, I just made a little extra oat flour)
1/4 tsp sea salt
2 TBSP dark chocolate
1. In a blender, blend oats until it turns into a fine flour.
2. In a large bowl combine coconut oil, peanut butter, maples syrup, and vanilla. Beat until smooth.
3. Add the oat flour (I just added more oat flour instead of making almond floor too) and salt and beat again.
4. Fold in chocolate (I just did regular chocolate chips for the kiddos)
5. Roll into balls and put on a plate lined with parchment paper.
6. Freeze for 5 minutes.
7. Store in a freezer bag in the freezer and you have a snack always ready to go!

Have a great weekend everyone!
Love,
Louise
Tuesday, January 13, 2015
Post Workout Smoothie Time
I have been off of most sugar for the past six months and I feel AMAZING. The biggest three changes are weight loss, an easier time sleeping, and more energy. Up until now, I have left fruit out of my smoothies because liquid sugar is not the best for you and there is a lot of sugar in fruit like ripe bananas. Being that I am now at my goal weight, and exercising more, I wanted to be able to have a treat each time I finished a good workout.
If you follow me on Instagram, it's no secret that I love just a few recipes from The Oh She Glows Cookbook. I'm not a vegan but the recipes are quite healthy and I can adapt them if need be. If you are thinking `Oh man, vegan sounds scary!', it's not. It's fun to mix things up and try new things. If a recipe looks too far out of your comfort zone, you can always adapt it with ingredients that you are used to.

I've tried four of her smoothies so far; Classic Green Monster, Gym Rat Smoothie, Pumpkin Pie Smoothie, and the Cheerful Chocolate Smoothie. I like them all. I find the last three very sweet so I just reduced the number of dates added. Remember, I've been off of sugar so you'll probably want the recommended number of dates.
Here's the one I tried the other night in case you wanted to try it. Just put all the ingredients in the blender and you are good to go.
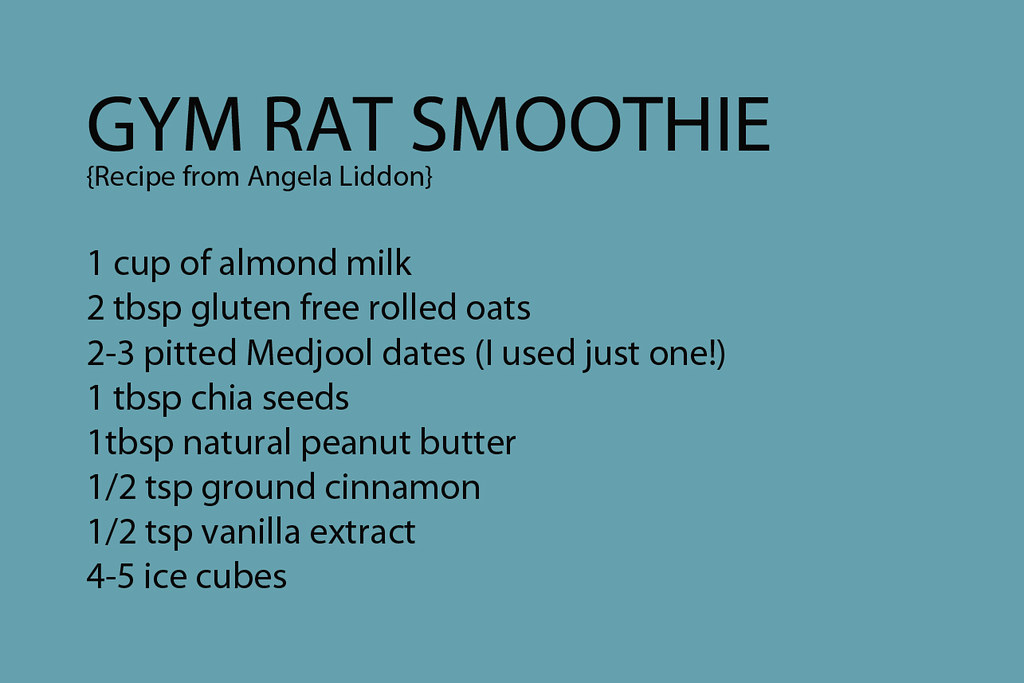
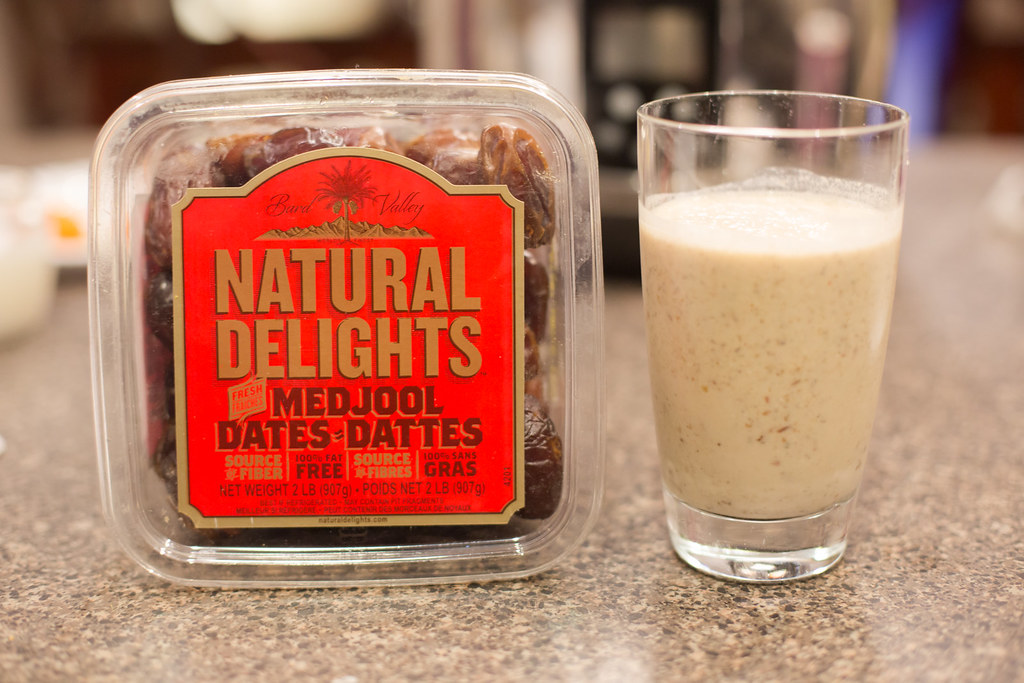
Doesn't it look good?
These are some other recipes I've made out of it so far in case you need some more convincing of this book's awesomeness. I don't have a picture of the Chana Masala but that was a keeper too!
{Ingredients to make the Falafel Bites}


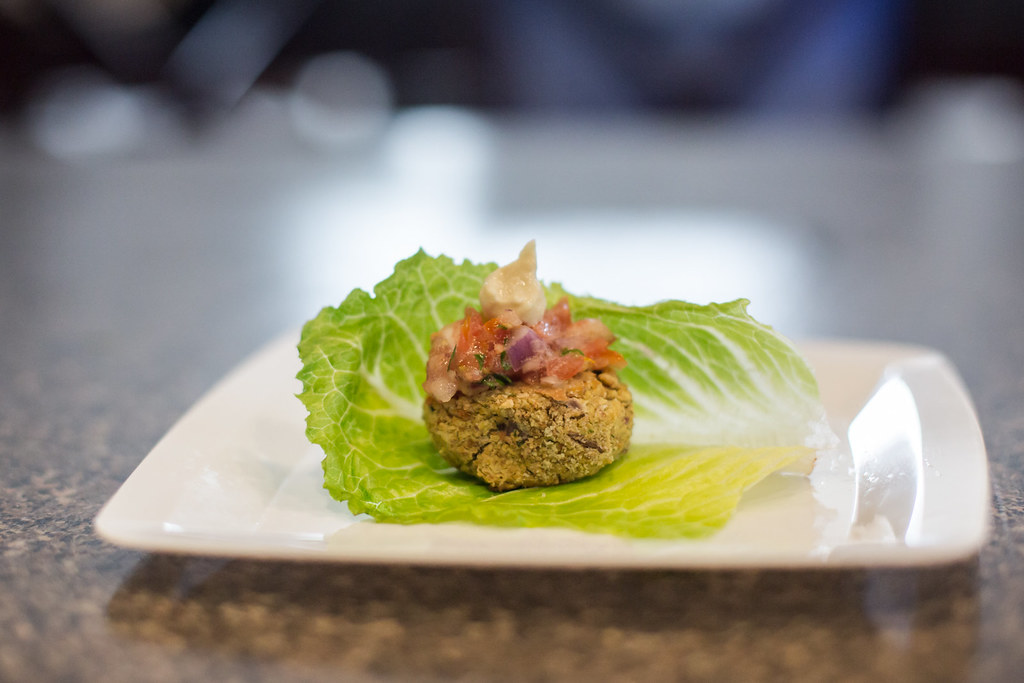
{Falafel Bites}

{Soul Soothing African Peanut Stew}

{Classic Green Monster}
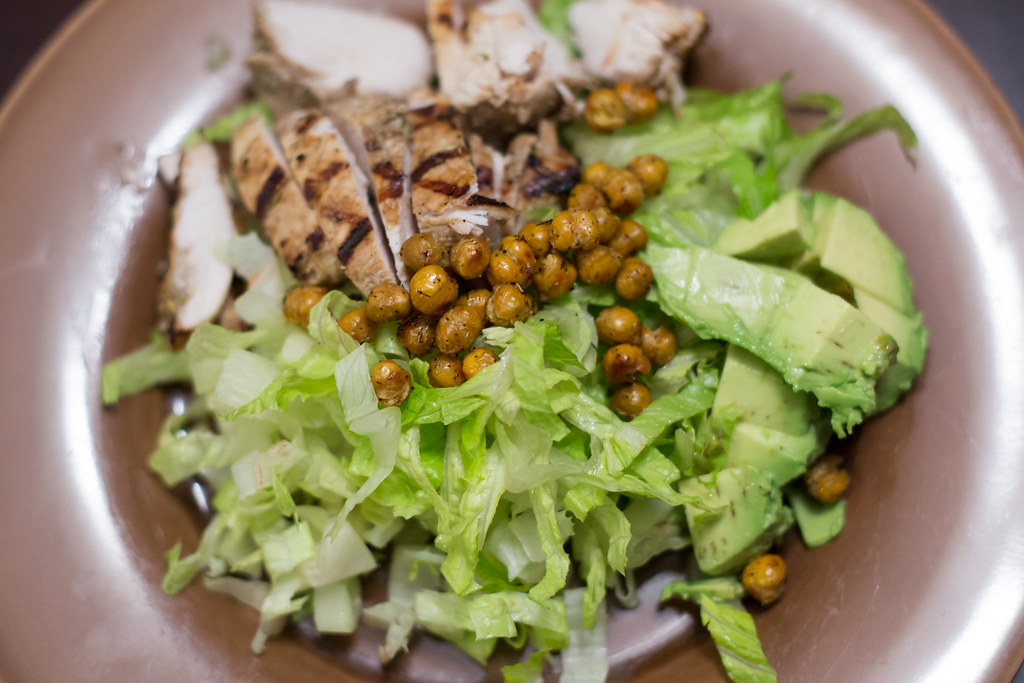
{Roasted Chickpeas-not on a vegan salad}
Love,
Louise
PS Did you know that a ripe the banana has more sugar is in it? Just choose one that's not the ripest next time you put it in your smoothie :)
Wednesday, December 10, 2014
Oreo Candy Cane Chocolate Bark Recipe
I want to share this super easy and delicious recipe with you. I love for the kids to choose a gift to give to those in need each year. This year, we are choosing to buy a bicycle through Compassion so that a child can go to school in India. The boys love school and friends of ours are moving to India in the new year so this provides a great connection for them.
In order to make $45, they need to sell about 30 bags of Oreo Candy Cane Chocolate Bark. It costs about $1.50 to make each bag and they sell for $3.00. It's really easy for the kids to get involved in the process, so here we go...
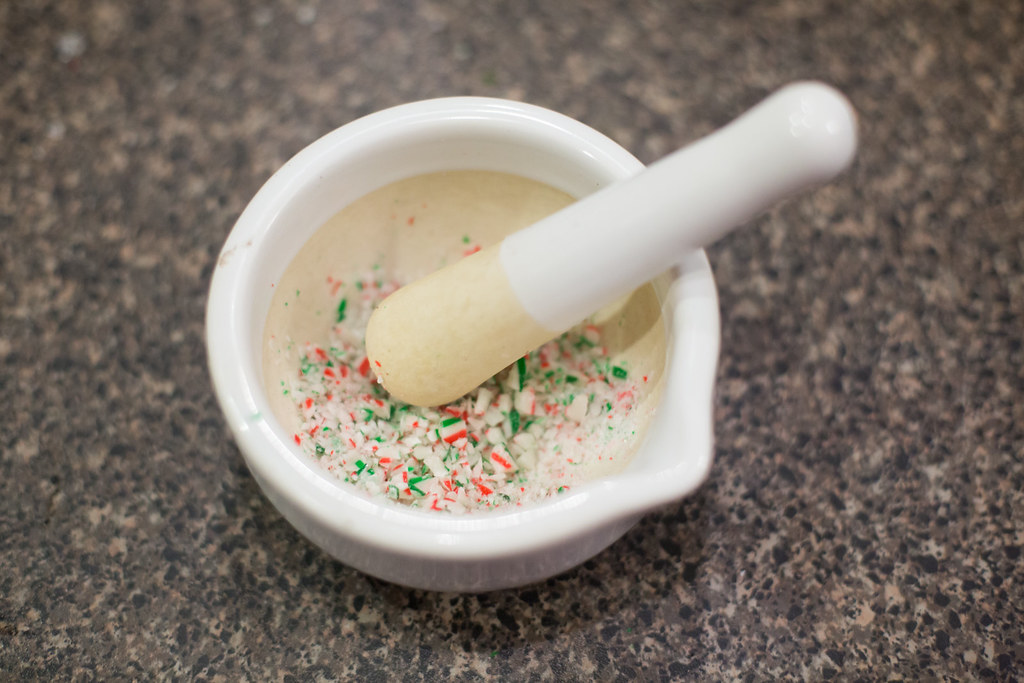
1. Crush candy canes with a mortar and pestle.
You can choose other toppings instead like nuts, pretzels or craisins. I tend to stay away from nuts just because of potential allergies. Martha Stewart has a few ideas too.
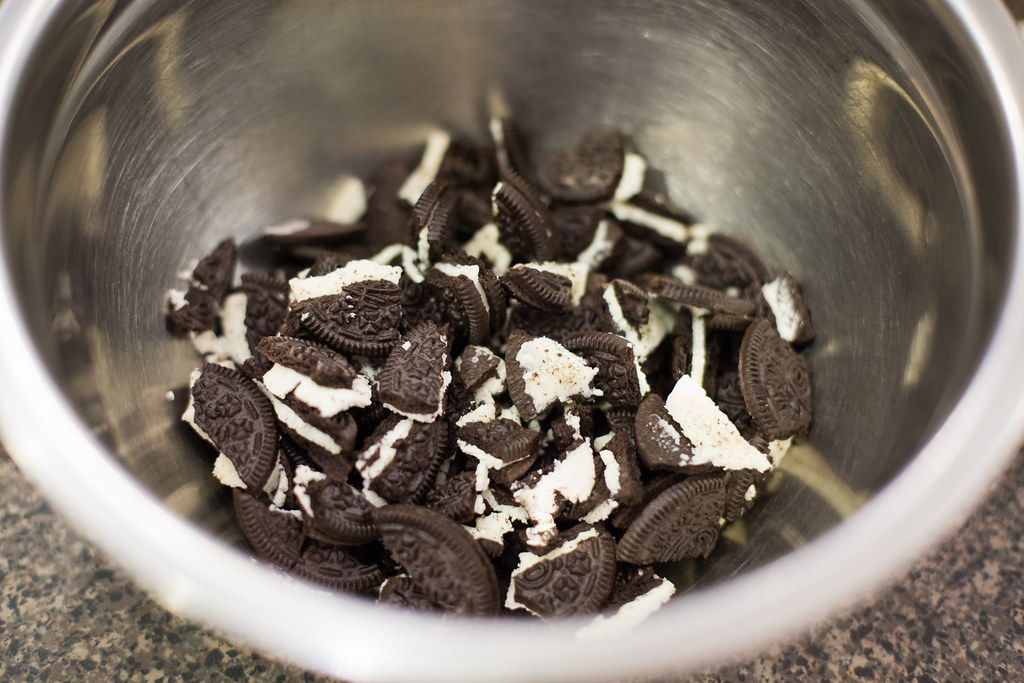
2. Break up a bunch of Oreo cookies.
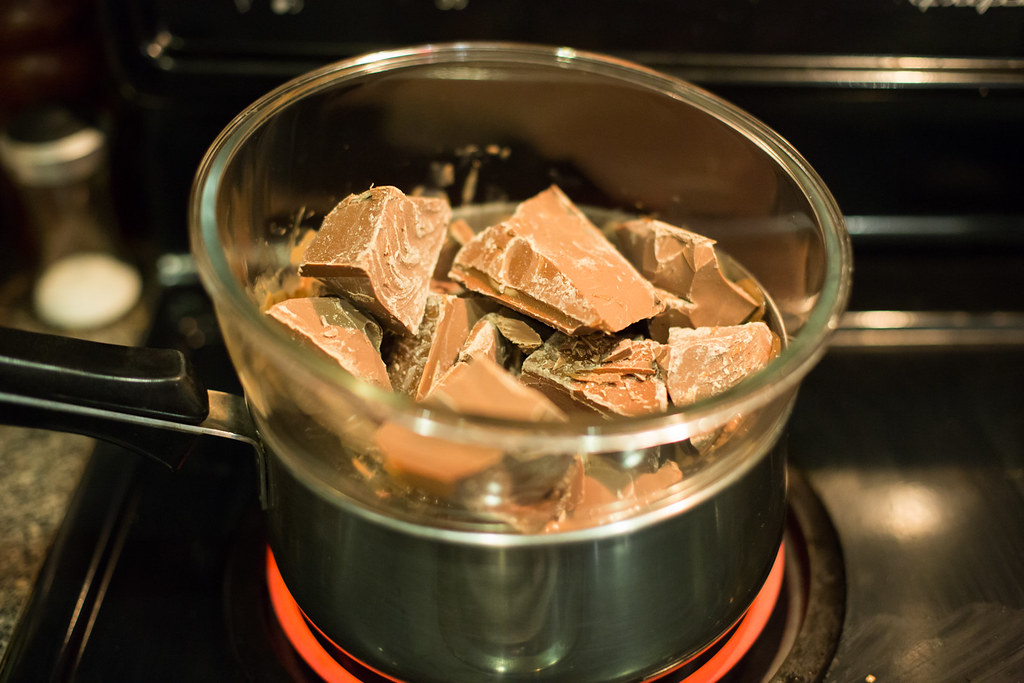
3. Chop up large chunks of baking chocolate and place on a double broiler.
A double broiler is just a bowl over a saucepan of water. I buy Callebaut baking chocolate from Superstore in the bulk section. You can use white, milk or dark chocolate and I personally love dark chocolate.
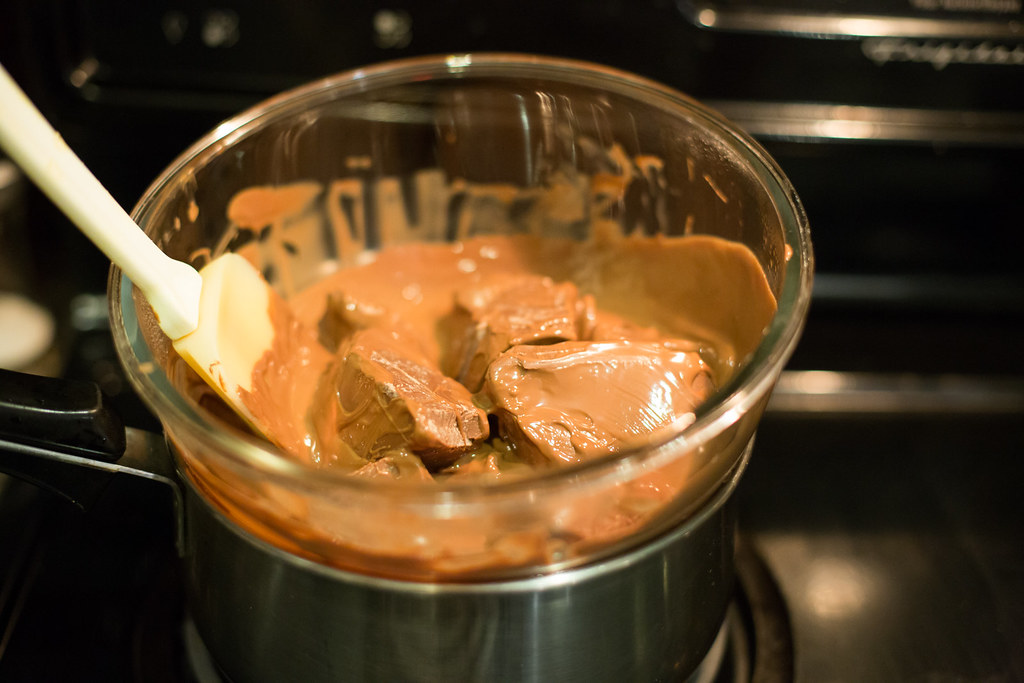
4. Stir continuously.
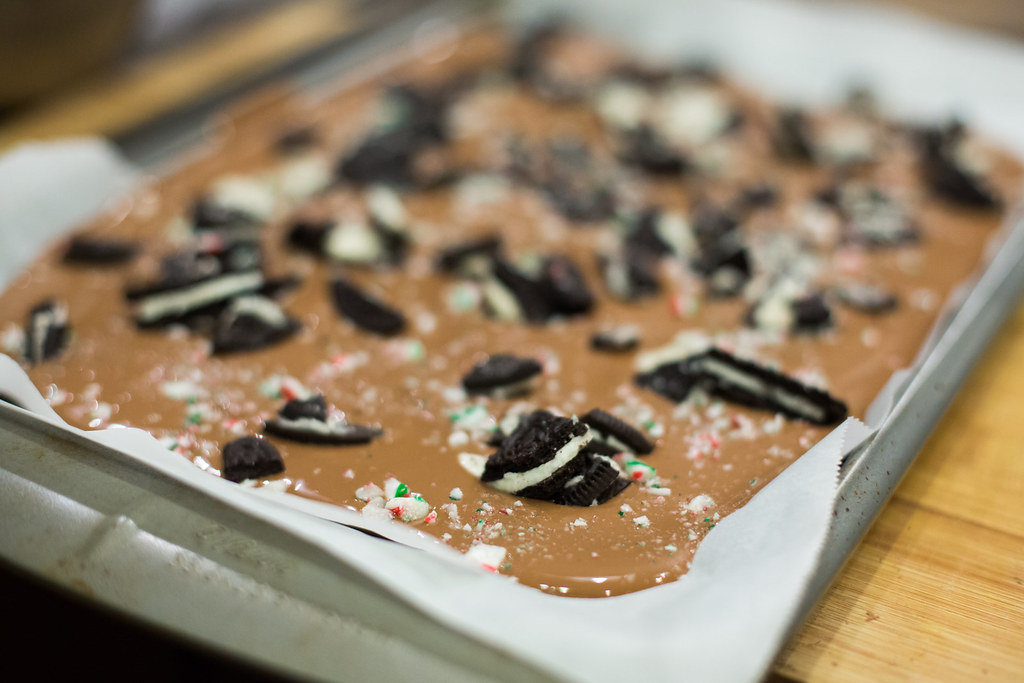
5. Once completely melted, line a baking sheet with parchment paper. Pour the chocolate onto the baking sheet. Cover with the toppings of your choice.
Sometimes people mix the toppings in the chocolate but I really like to see it on top of the chocolate.
7. Remove it from the fridge and break it into pieces.
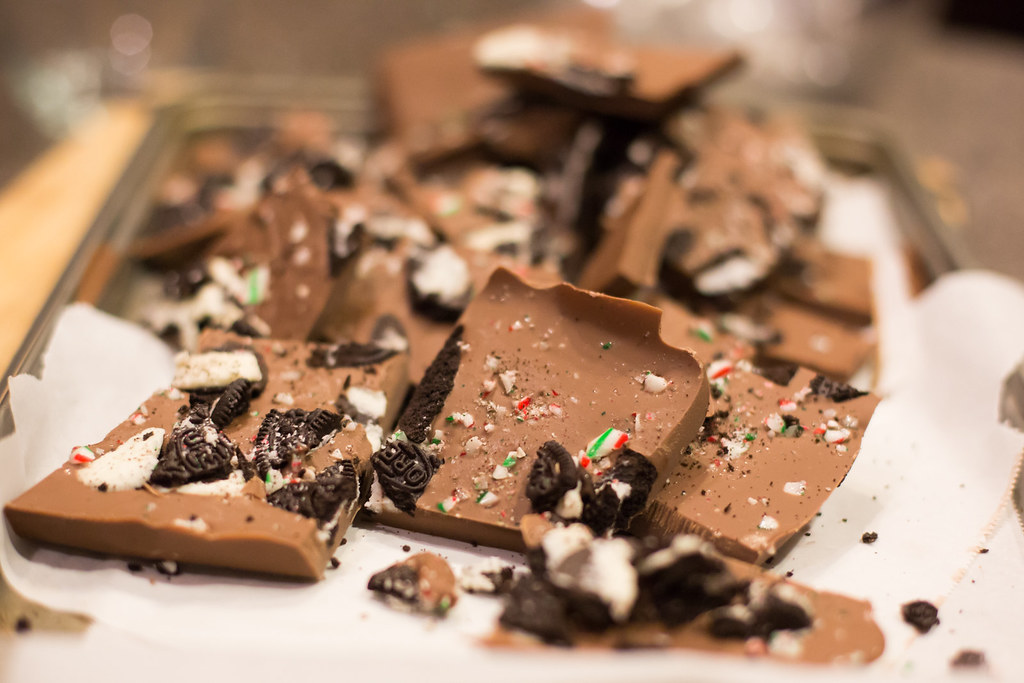
8. Bag it up and you're good to go!
A little tip is to put the tallest piece of chocolate in the back of the bag, this allows the person to see that there is ample chocolate in there. Have a wonderful day, friends!
Love,
Louise
Sunday, November 02, 2014
Four Great Recipes to Make from One Pumpkin
With Halloween now being over, we were able to turn our decoration into food. We had carved some of our pumpkins but left a few on our porch whole in order to make purees on November 1st. What can you do with a giant $3 pumpkin? A lot.
When cleaning out your pumpkin just save the seeds! They make a great snack that helps to regulate your blood sugar levels, boost your magnesium and iron, and provide you with ample fiber.

Roast the pumpkin at 350 degrees for 45 minutes and then make it into a puree by removing it from the skin and blending it.


{Nya loves her job of pushing the button}
2. Use the puree to make Whole Wheat Pumpkin Waffles.
The house smelled so good.
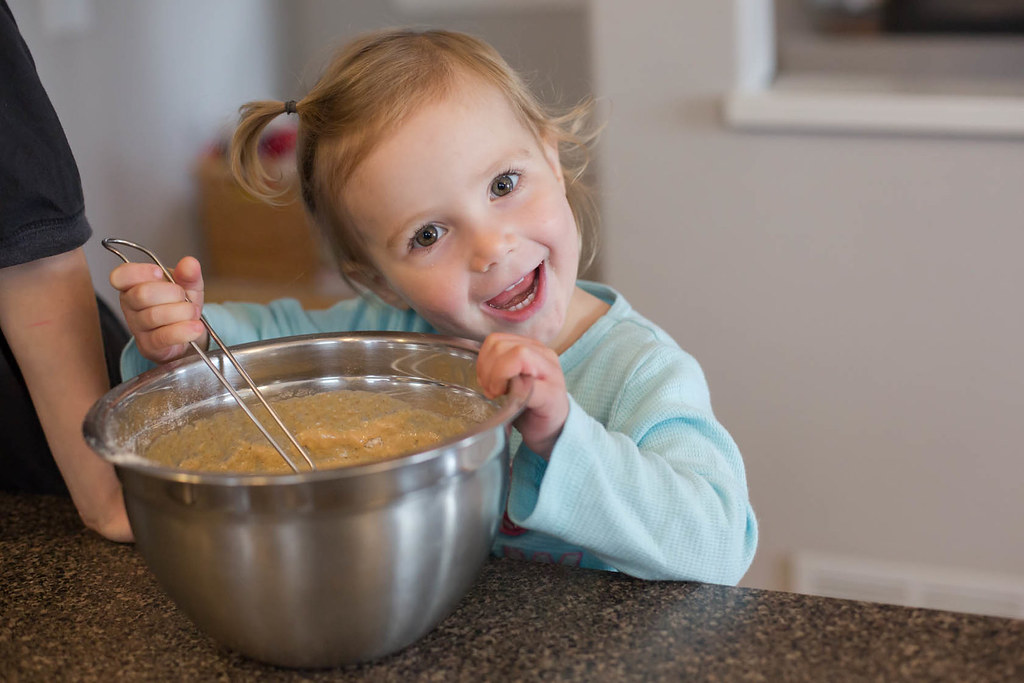
Koen and Nya took turns stirring. Gary has way more patience than I do for having more than one kid working with him in the kitchen!

3. Curried Pumpkin Soup with Coconut Milk.
If you want to be fancy, top with a dollop of Greek Yogurt and some roasted pumpkin seeds.
If you want to be fancy, top with a dollop of Greek Yogurt and some roasted pumpkin seeds.

Kai Bear really wanted to have some pumpkin scones. I haven't done as much baking lately because we're really trying to reduce our sugar. So, look what I found...
4. Skinny `Starbucks' Pumpkin Scones .
It smells delicious but definitely tastes `healthier' with the whole wheat. The icing is full of sugar and flavour so the kids gave it a score of 10/10 overall.
4. Skinny `Starbucks' Pumpkin Scones .
It smells delicious but definitely tastes `healthier' with the whole wheat. The icing is full of sugar and flavour so the kids gave it a score of 10/10 overall.

I asked Kai for his thoughts on it and he said, "If this was all I was allowed to eat for one year, I don't think I would ever get sick of it!". Thanks for your review, Kai.

If you are wanting a Starbucks type scone with full fat/sugar, maybe try out this one; Spiced Pumpkin Scone Recipe. I haven't baked this one but the reviews look good.
We also measured out 1 cup bags of pumpkin puree and put them in our outdoor freezer to use at a later date.

Do you have a favourite pumpkin recipe? Please share the link to it in the comments as I'm roasting another one as I write this.
Love, Louise

Subscribe to:
Posts (Atom)